Eric Folino's Web Lab
About this Site
My name is Eric Folino and I am in my third year studying Materials and Nanoscience at the University of Waterloo. I am also a musician. While my main site is dedicated to artistic endeavors, this area of my website is dedicated to my career as a scientist. This page is dedicated to the projects that I have been involved in.
Labs
Synthesis of Quantum Dots
Theory
Quantum dots are a type of nanoparticle. This means that one quantum dot is made up of only a small amount of atoms. Quantum dots are special because of the unique properties of their electronic structures. The electrons around a Quantum Dot behave differently depending on the size of the particle. This means that differently sized QD's will be different colours, and will fluoresce different colours under a black light.
The quantum dots we made in this lab were made of Cadmium and Selenide. The two elements react with heat. Additionally, long, spring-like molecules of trioctylphosphine oxide (TOPO) are added. These molecules effectively act as springs, and keep newly formed quantum dots from sticking together. The quantum dots grow with time, so to get different sizes, one must retrieve samples from the reaction vessel at certain increments, in this case; after 20, 40, 60, 90, 120, 180, and 300 seconds.
Results
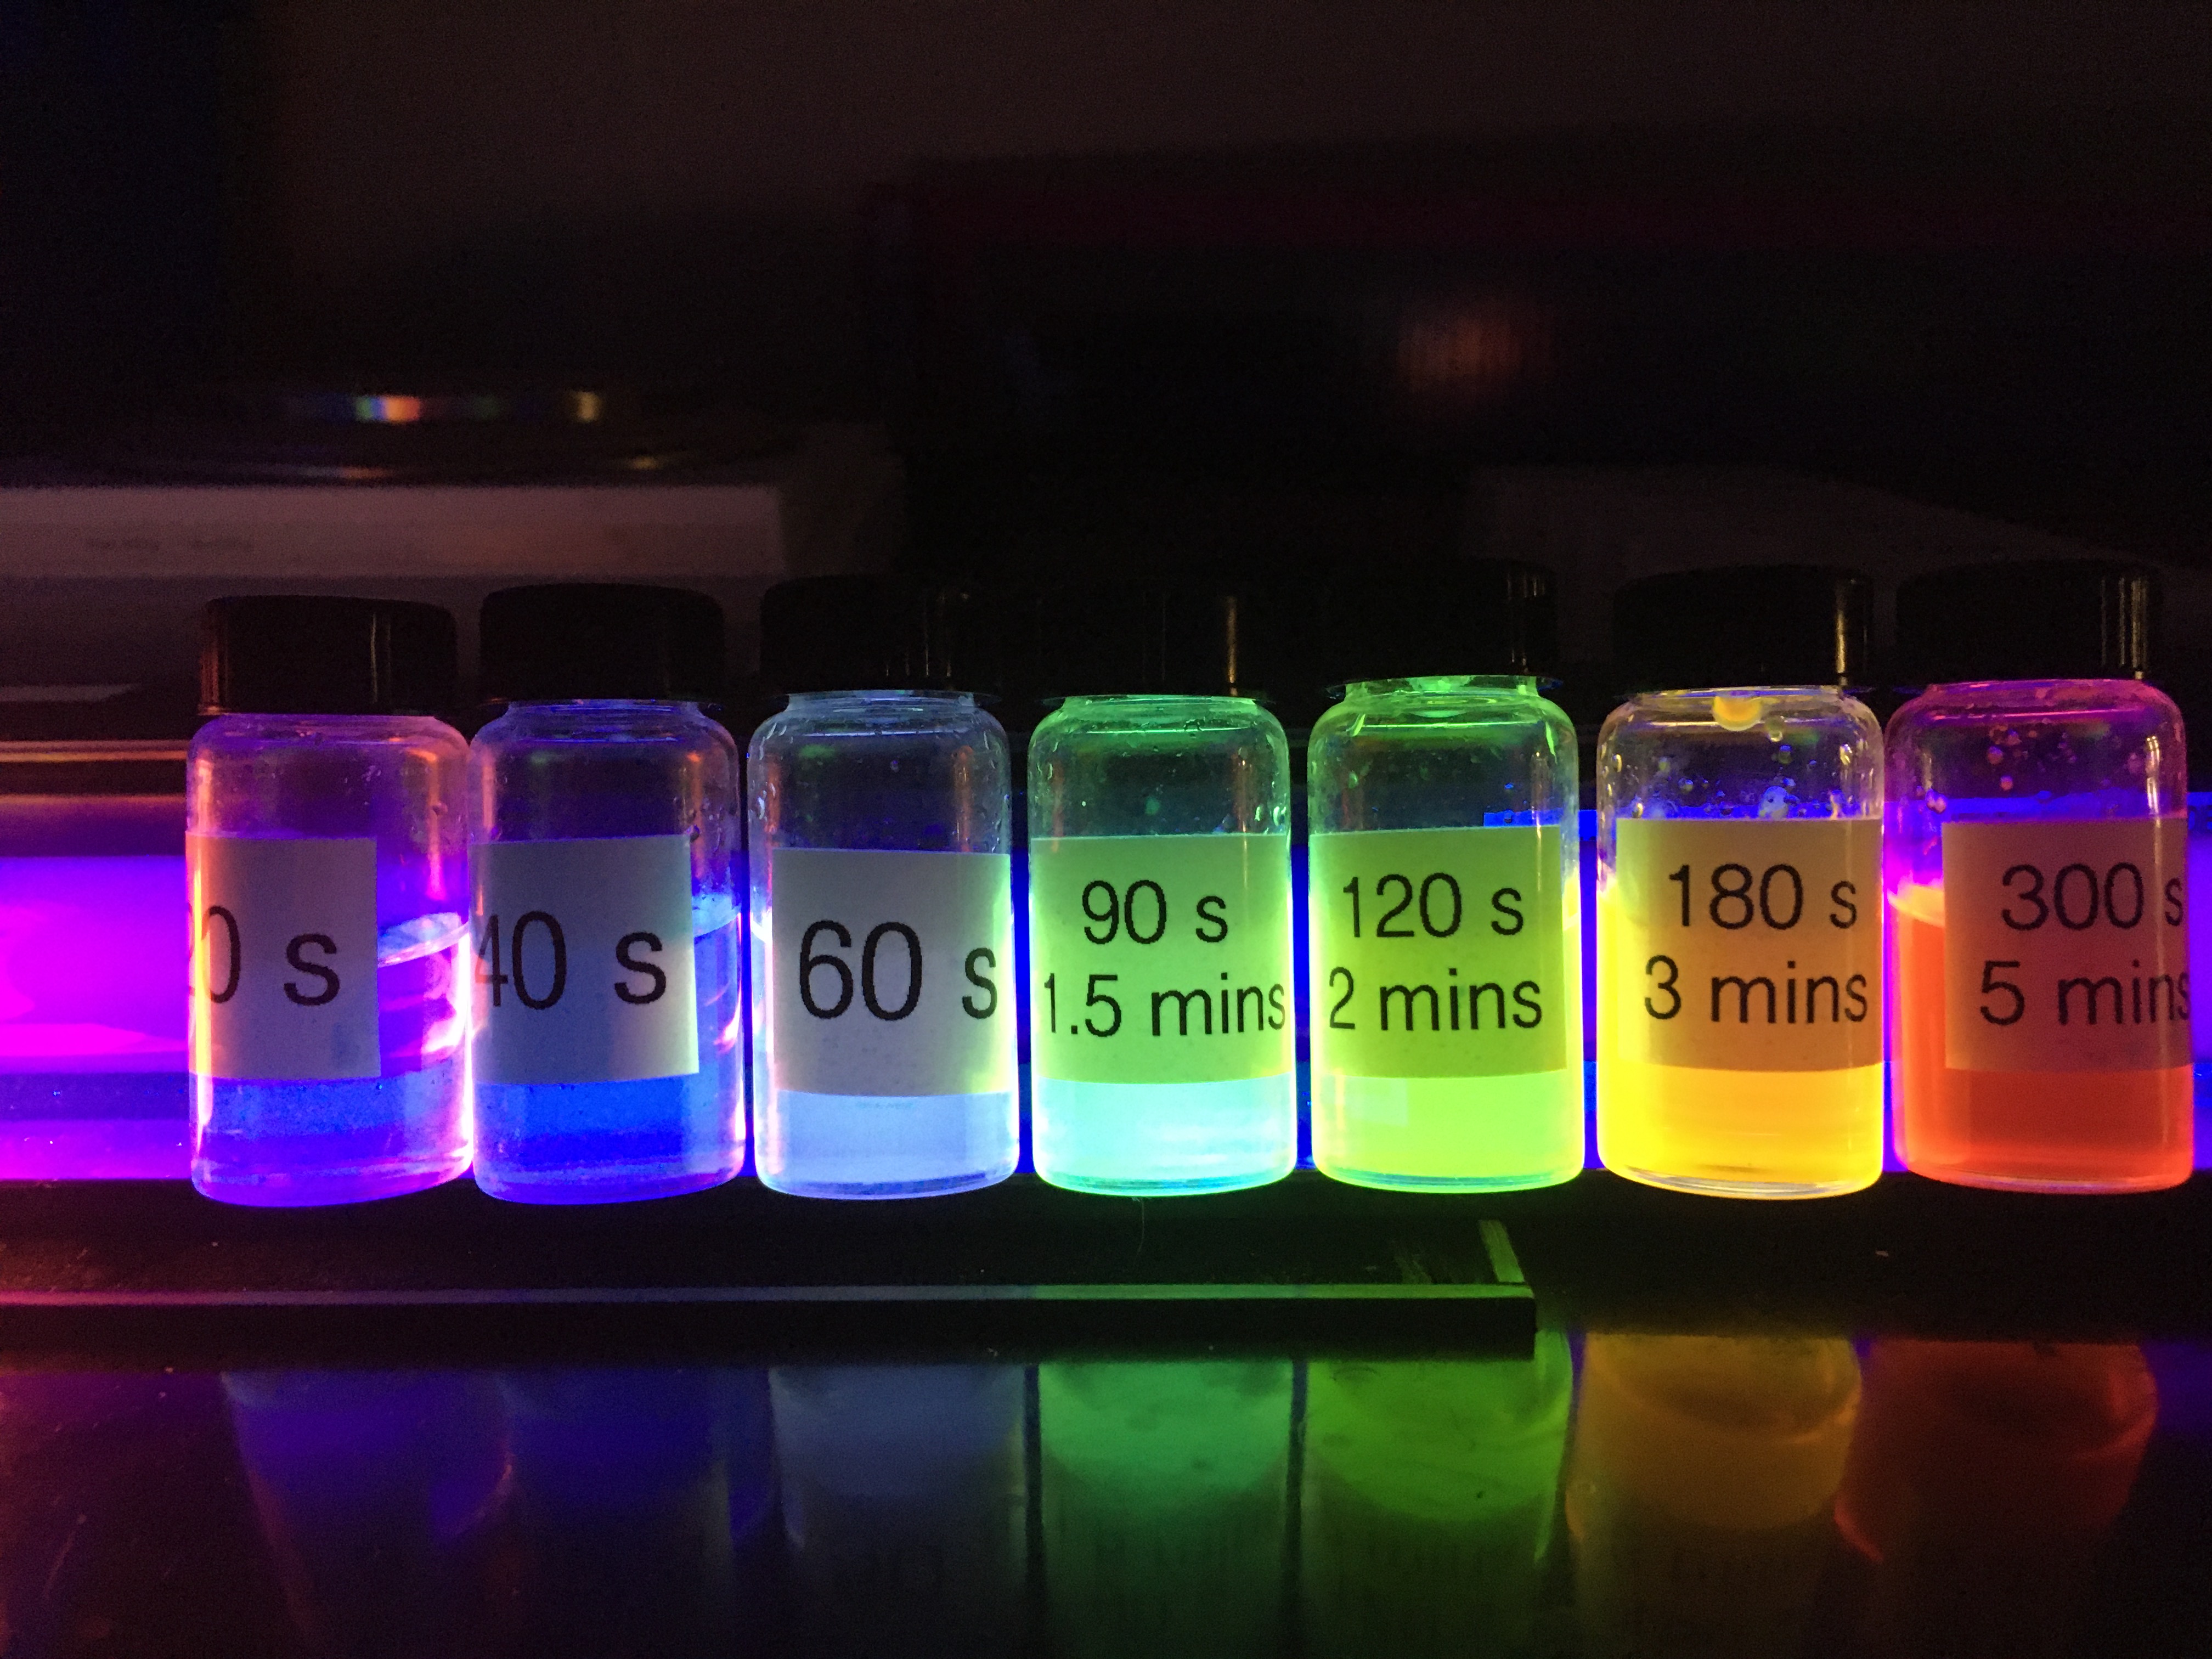
Quantum dots, made by me and my group members, under a black light.
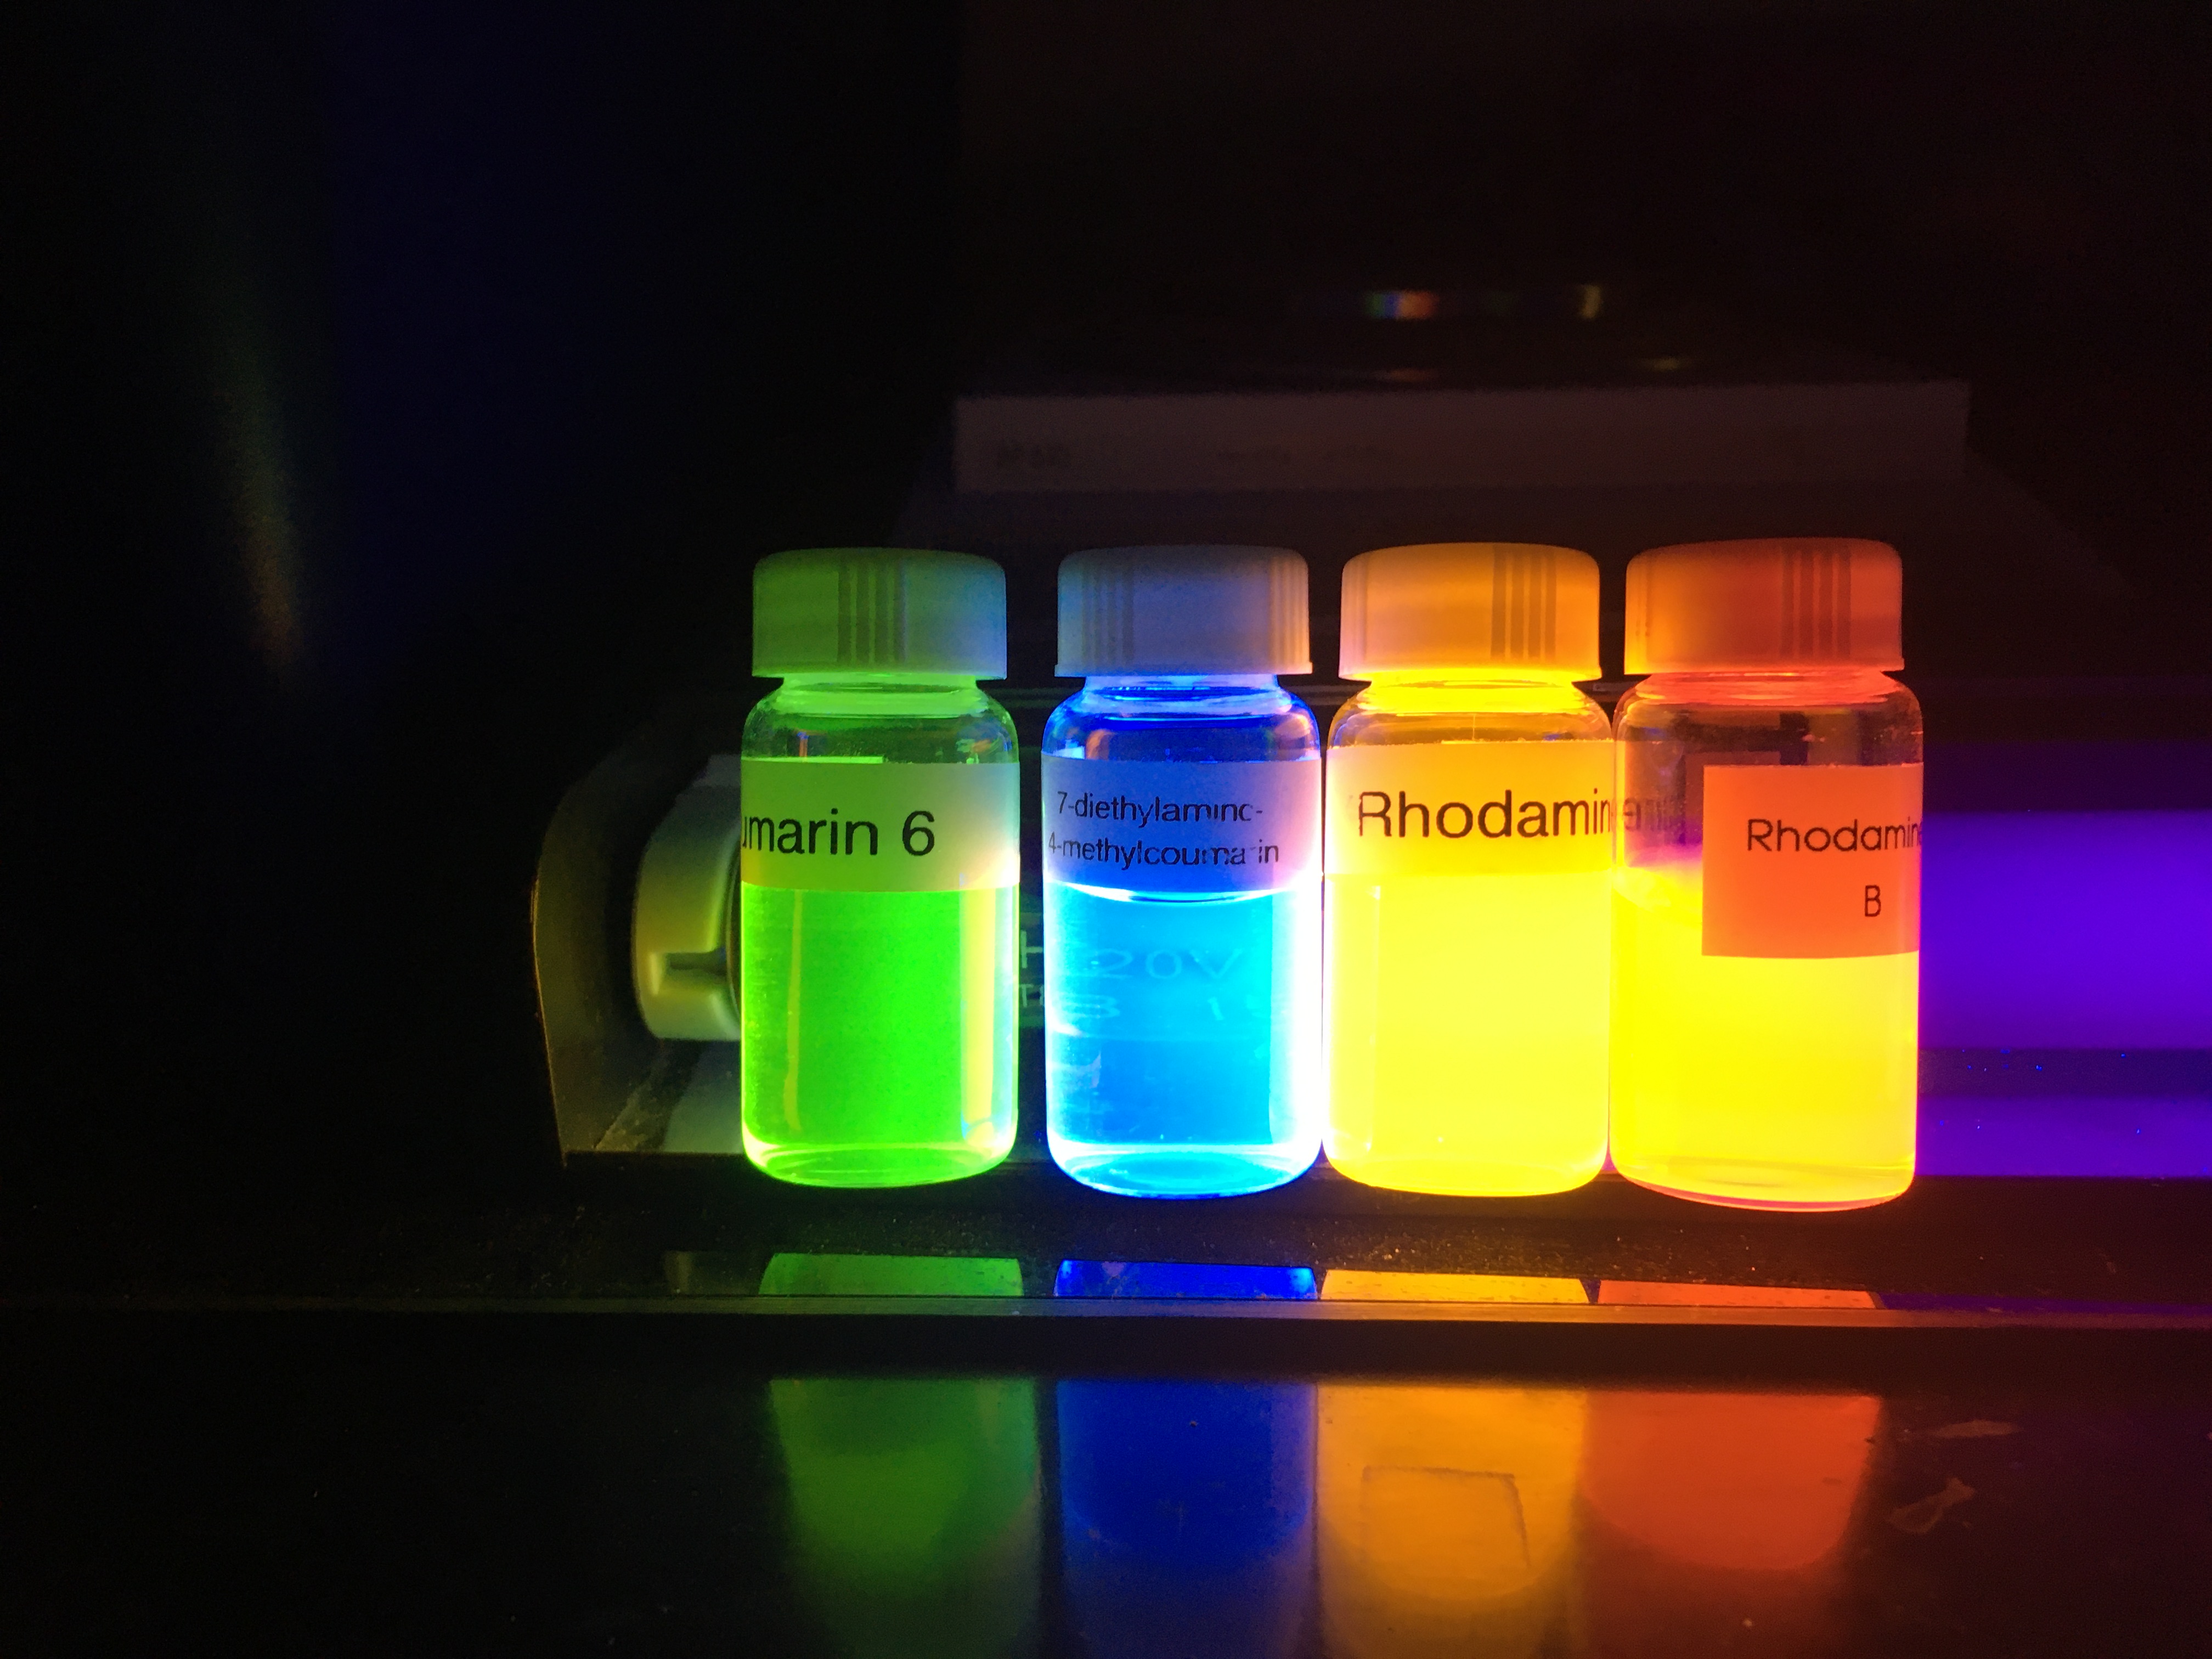
Purchased fluorescent dyes, also under a blacklight, for comparison.
You may notice that the fluorescent dyes are a lot brighter than the QD's. If this is the case, why bother with this? Well quantum dots are very important for numerous reasons. Firstly; while QD's are dimmer, they have the ability to fluoresce with a wider range of wavelengths of light when compared to the dyes. In other words, to get the most out of the dyes, you'd need a very specific wavelength of light. To get the most out of the quantum dots, you could use many different wavelengths.
Second, each dye will only ever fluoresce one colour. To get a new colour, you need to make a new dye. Quantum dots on the other hand, can theoretically fluoresce any colour of the rainbow. Lastly, and most importantly, quantum dots have a vast number of applications in medicine, entertainment, and research.
Synthesis of Nicklel Nanowires
Theory
Nickel nanowires are conceptually one of the simplest things I have made: they are very small wires made of nickel. To prepare nanowires, a thin alumina template is used. This template is paper thin and very fragile and expensive. If you were to look at this template under a microscope, you would see lots of tiny holes in the surface. These holes will be filled with nickel to create the wires. The tubes are filled through a process known as electroplating. This process involves attaching two metals to either side of a battery, and submerging both metals in a special solution. When the battery is switched on, one metal gains a positive charge, and one metal gains a negative charge. The positively charged atoms in one metal are attracted to the negative metal, and so they dissolve into the solution, and deposit on the negative metal. Therefore to make nanowires, we fix the template to a copper piece (using a conductive adhesive and tape), and attach the copper piece and a nickel wire to a battery. The two metals are submerged in a solution, the battery is turned on, and charged nickel particles navigate towards the holes in the alumina template. Once this is complete, the tape and conductive adhesive are dissolved using acetone and nitric acid, respectively. Then, the template is dissolved using concentrated sodium hydroxide. Then we are left with the nanowires. The nanowires do conglomerate, so they need to be broken apart in an ultrasound bath.
Results
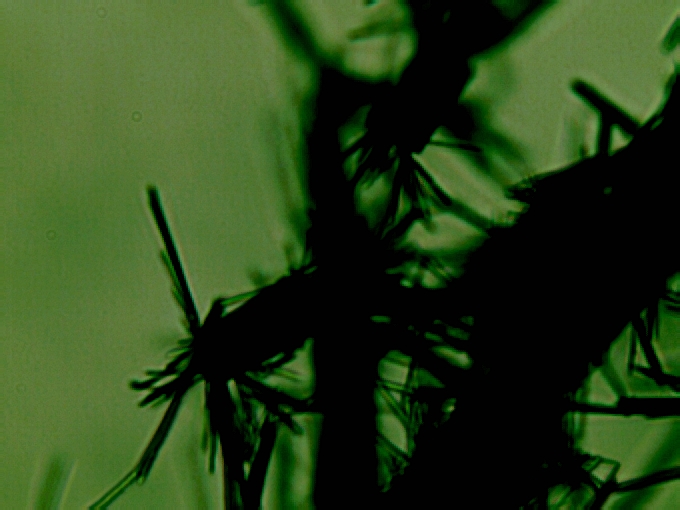
Nanowires at 500x maginification.
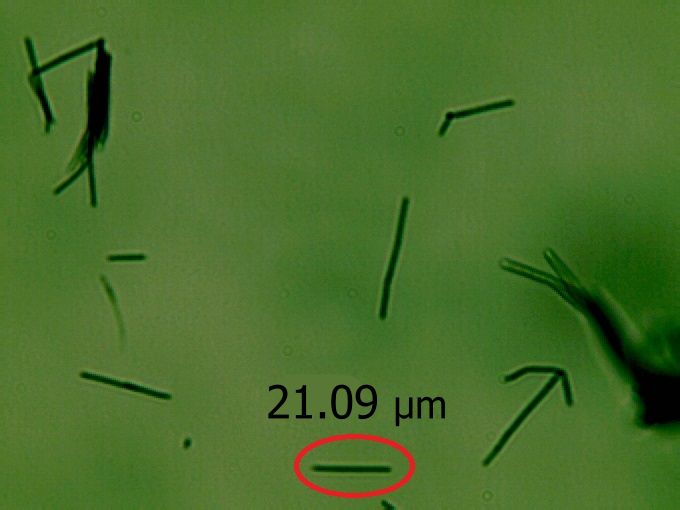
Nanowires after the ultrasound bath at 500x magnification.
The circled rod was found to be
21.09 micrometers, or 21.09 one-millionths of a meter.
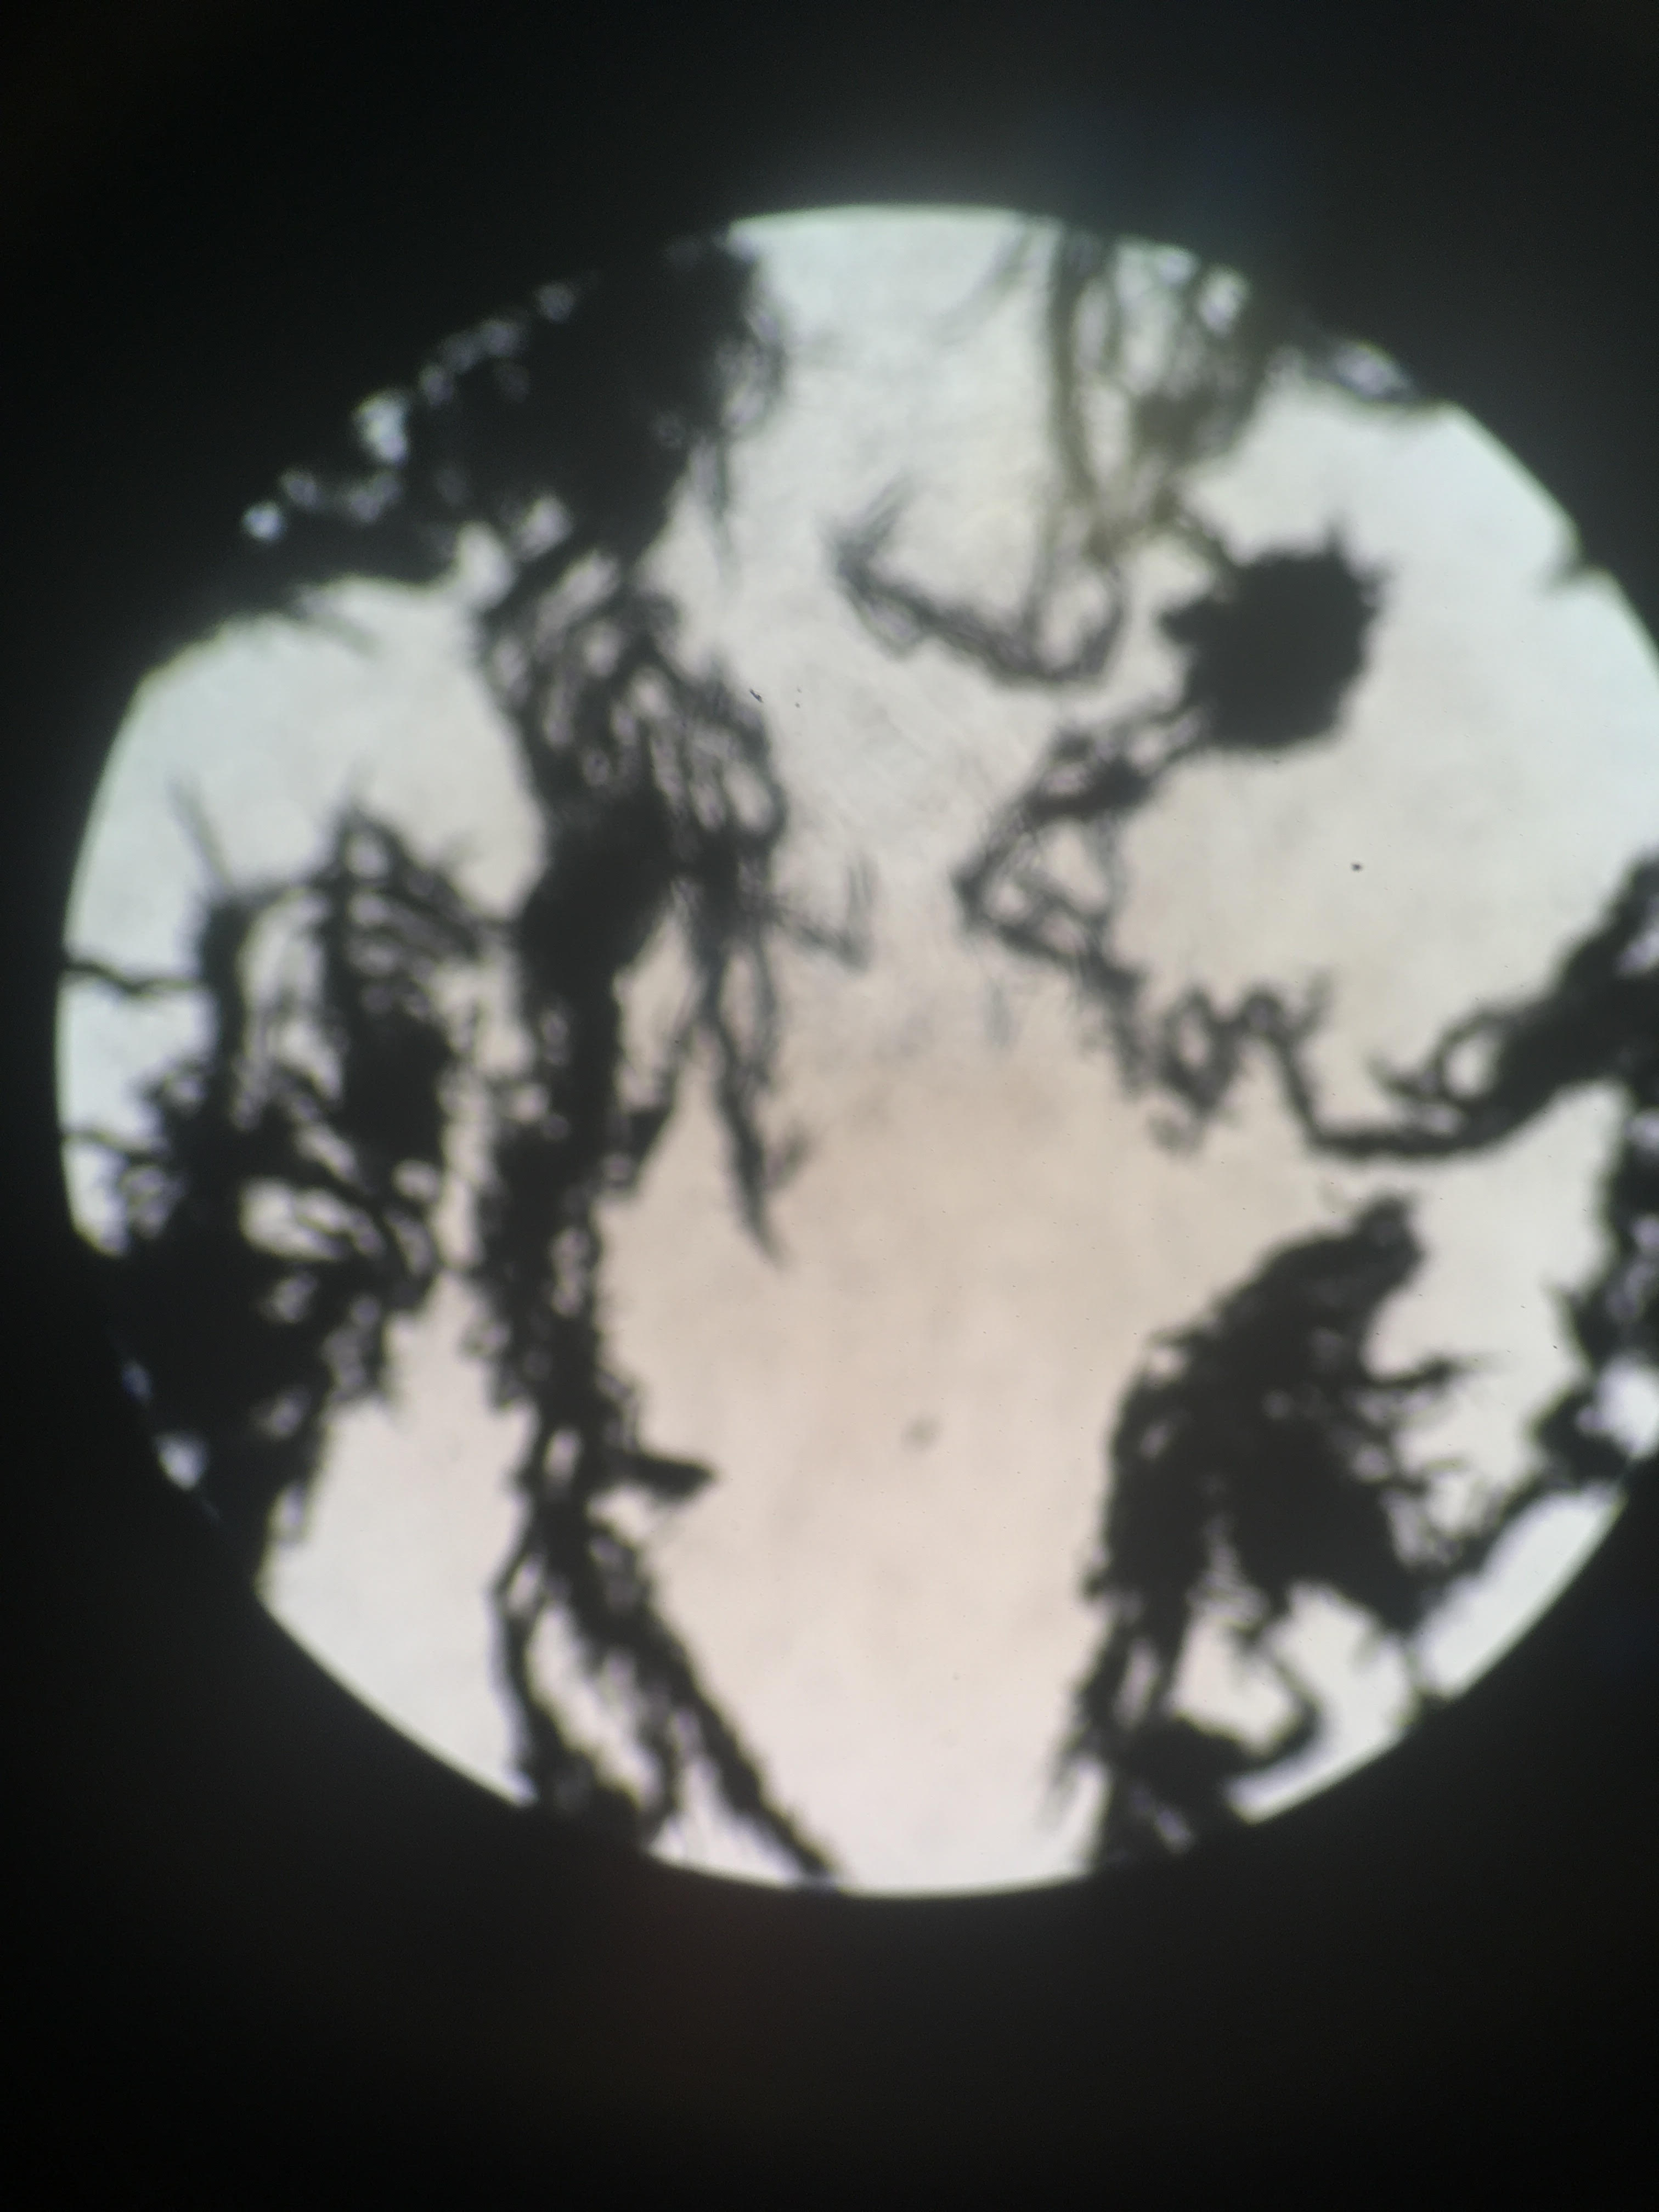
Nanowires under a microscope, at 100x magnification.
As seen in the images above, individual nanowires are increadibly small. When viewed with the naked eye, they appear to be a dark grey, extremely fine powder. Something interesting about these nanowires is that they are magnetic, and align themselves so that they point themselves in the direction of a magnetic field, kind of like a compass.
Gold Nanoparticles as a Biosensor for Glucose
Theory
This lab involved producing incredibly tiny gold nanoparticles. Gold nanoparticles can be produced via the Turkevich method. The just of this method is as follows: First, chlorauric acid is added to water. Chloroauric acid contains a gold atom. When this acid is dissolved in water, gold ions (charged atoms) are created. Next, a base is added, in this case, we used sodium citrate. This turns the charged gold ions into uncharged, normal atoms. The atoms begin to merge together, forming particles. For a brief moment, the gold particles stick, forming nanowires, however the long strings of gold are broken back into small particles by the sodium citrate. The sodium citrate removes the charge from the gold atoms, but it also acts as a particle stabilizer, similarily to TOPO in the quantum dot experiment.
Something that I find interesting is that nanoparticles of a particular material interact with light differently than their macro-sized counter parts. While gold is usually a metallic yellow, gold nanoparticles are a beautiful shade of red. As the particles get bigger, they become a darker shade of reddish-purple.
It is this colour-dependence on size that allows us to use gold nanoparticles as biosensors for glucose. Gold nanoparticles with increase in size in the presence of chloroauric acid and hydorgen peroxide. Glucose, in the presence of a special enzyme obtained from a fungus will produce hydrogen peroxide. So, by adding chloroauric acid and the enzyme to our nanoparticles, we have created a biosensor. Now, when glucose is added, hydrogen peroxide is produced, and the nanoparticles grow, changing colour. The more glucose that is added, the more colour will change.
Results
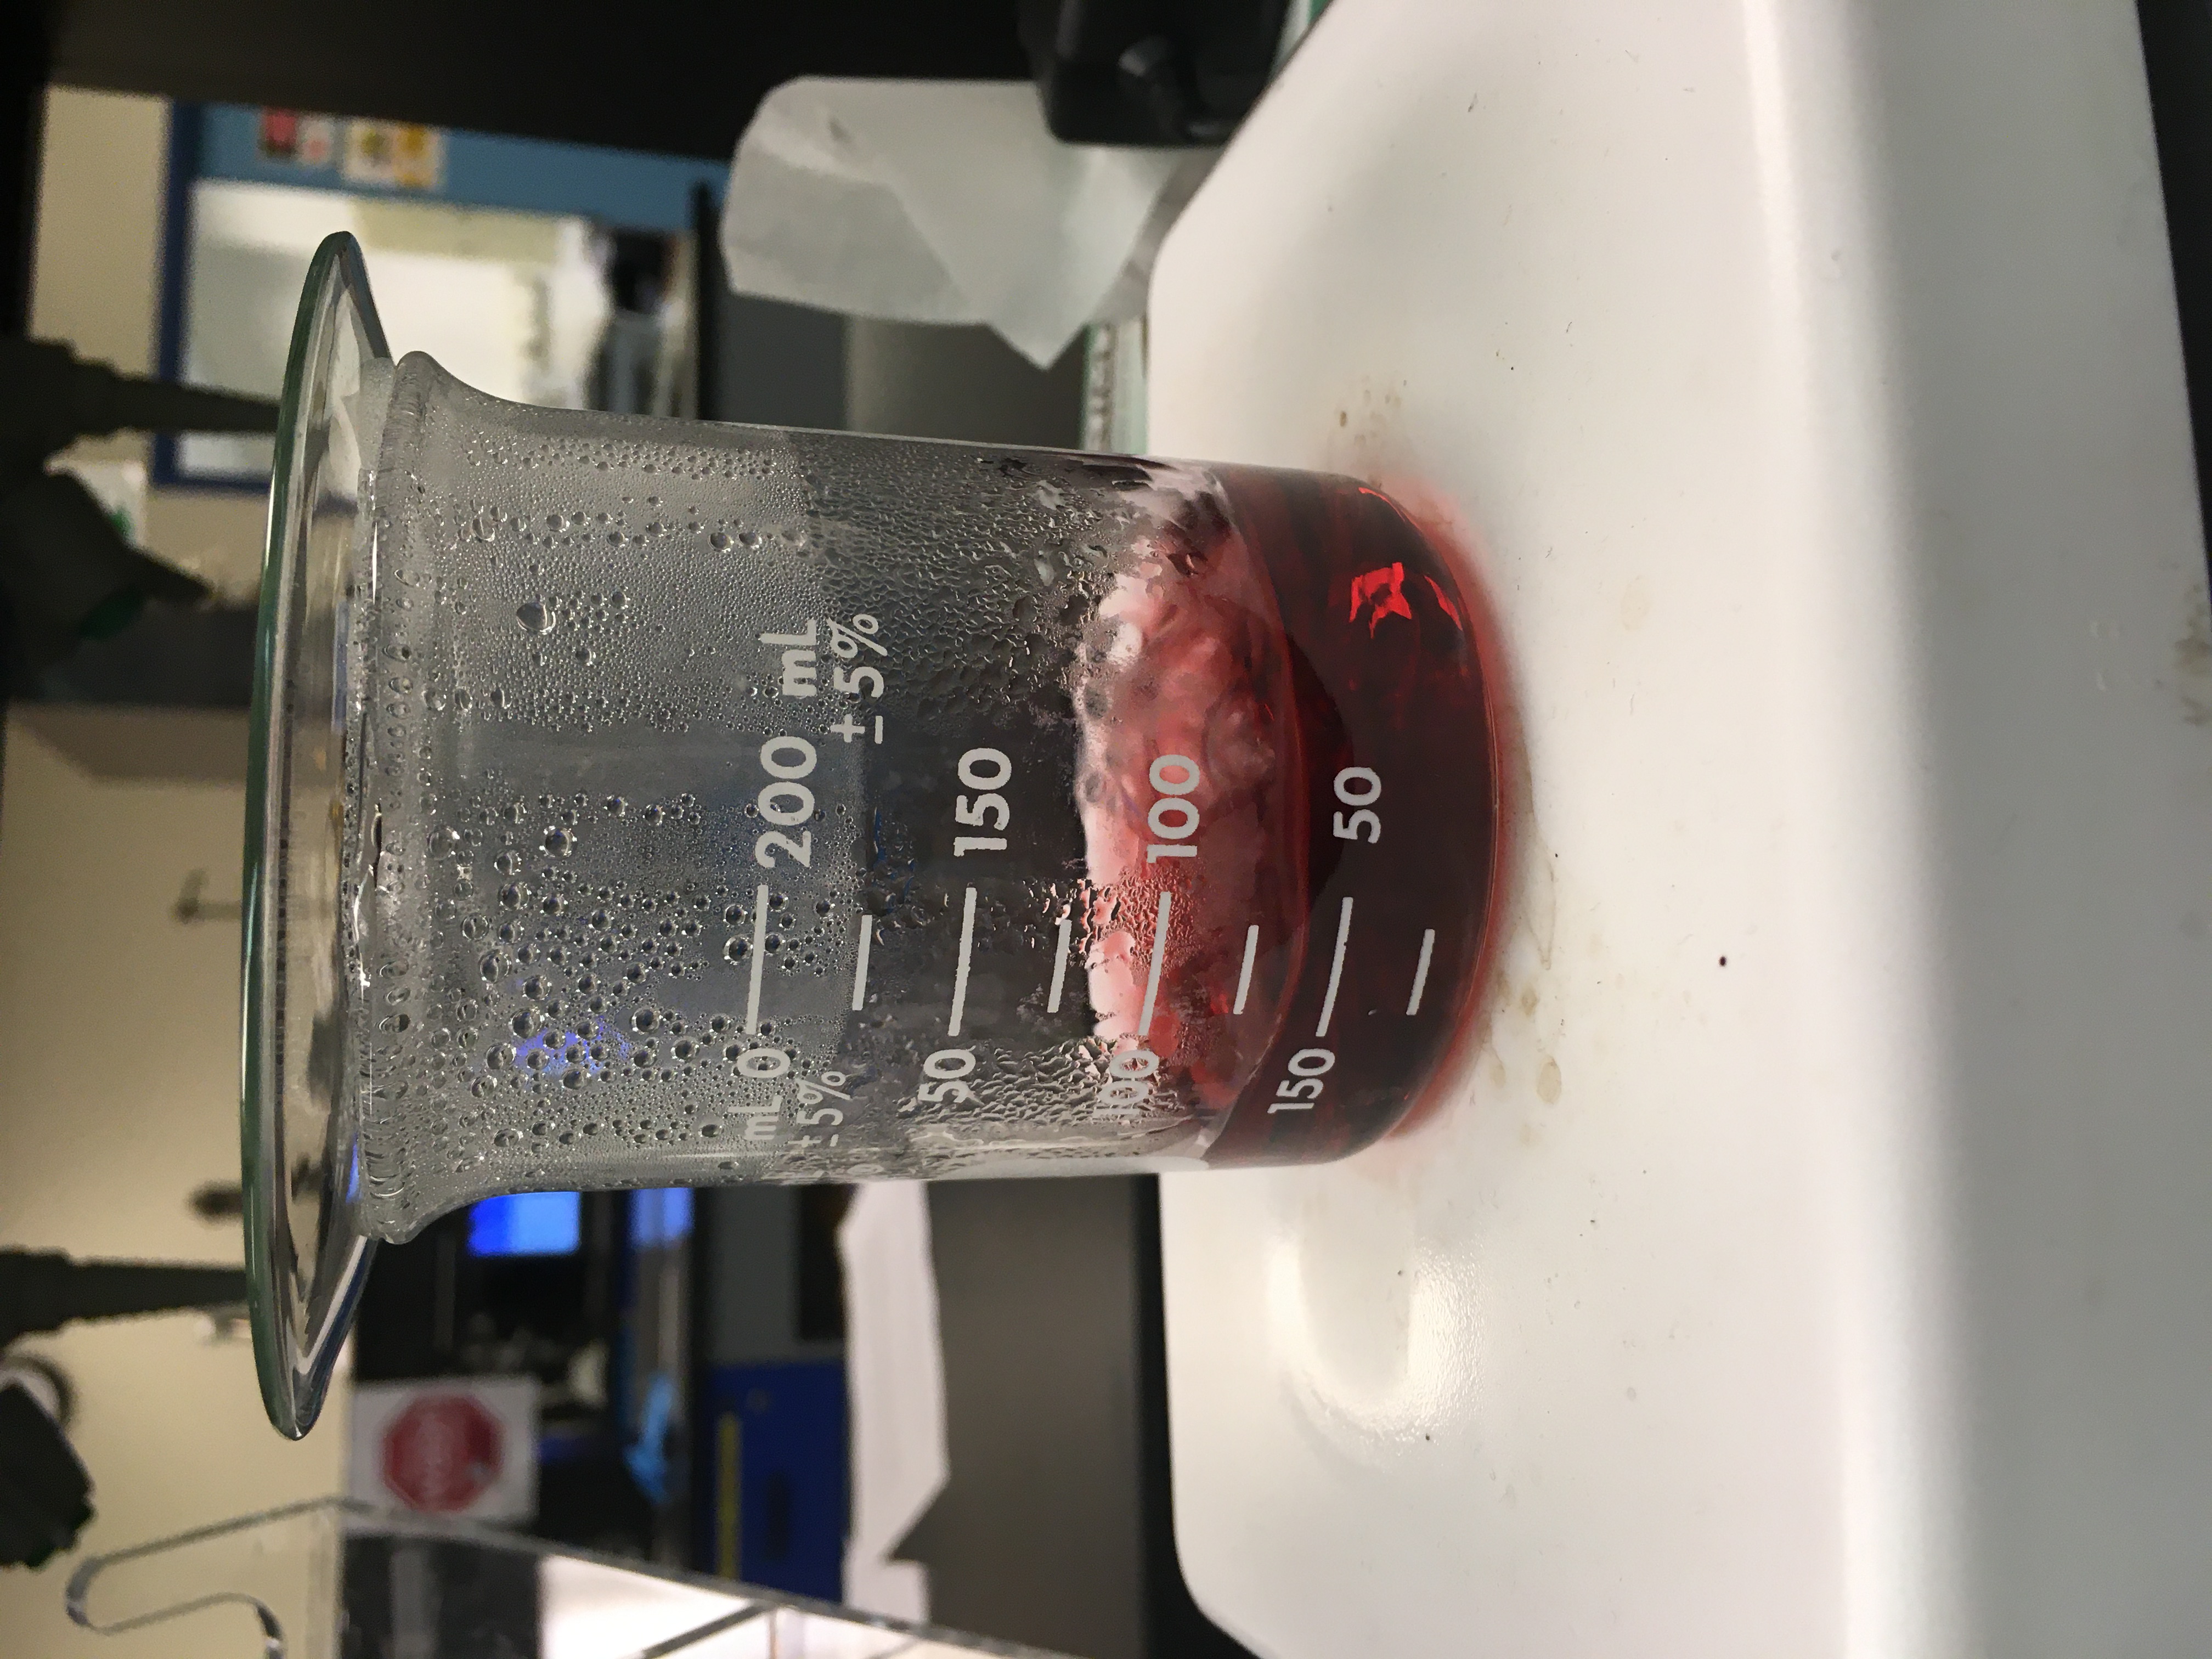
Gold nanoparticles. Each particle has a diameter of about
25nm, or 25 one-millionths of a millimeter!
Gold nanoparticles, mixed with the acid, enzyme and some water.
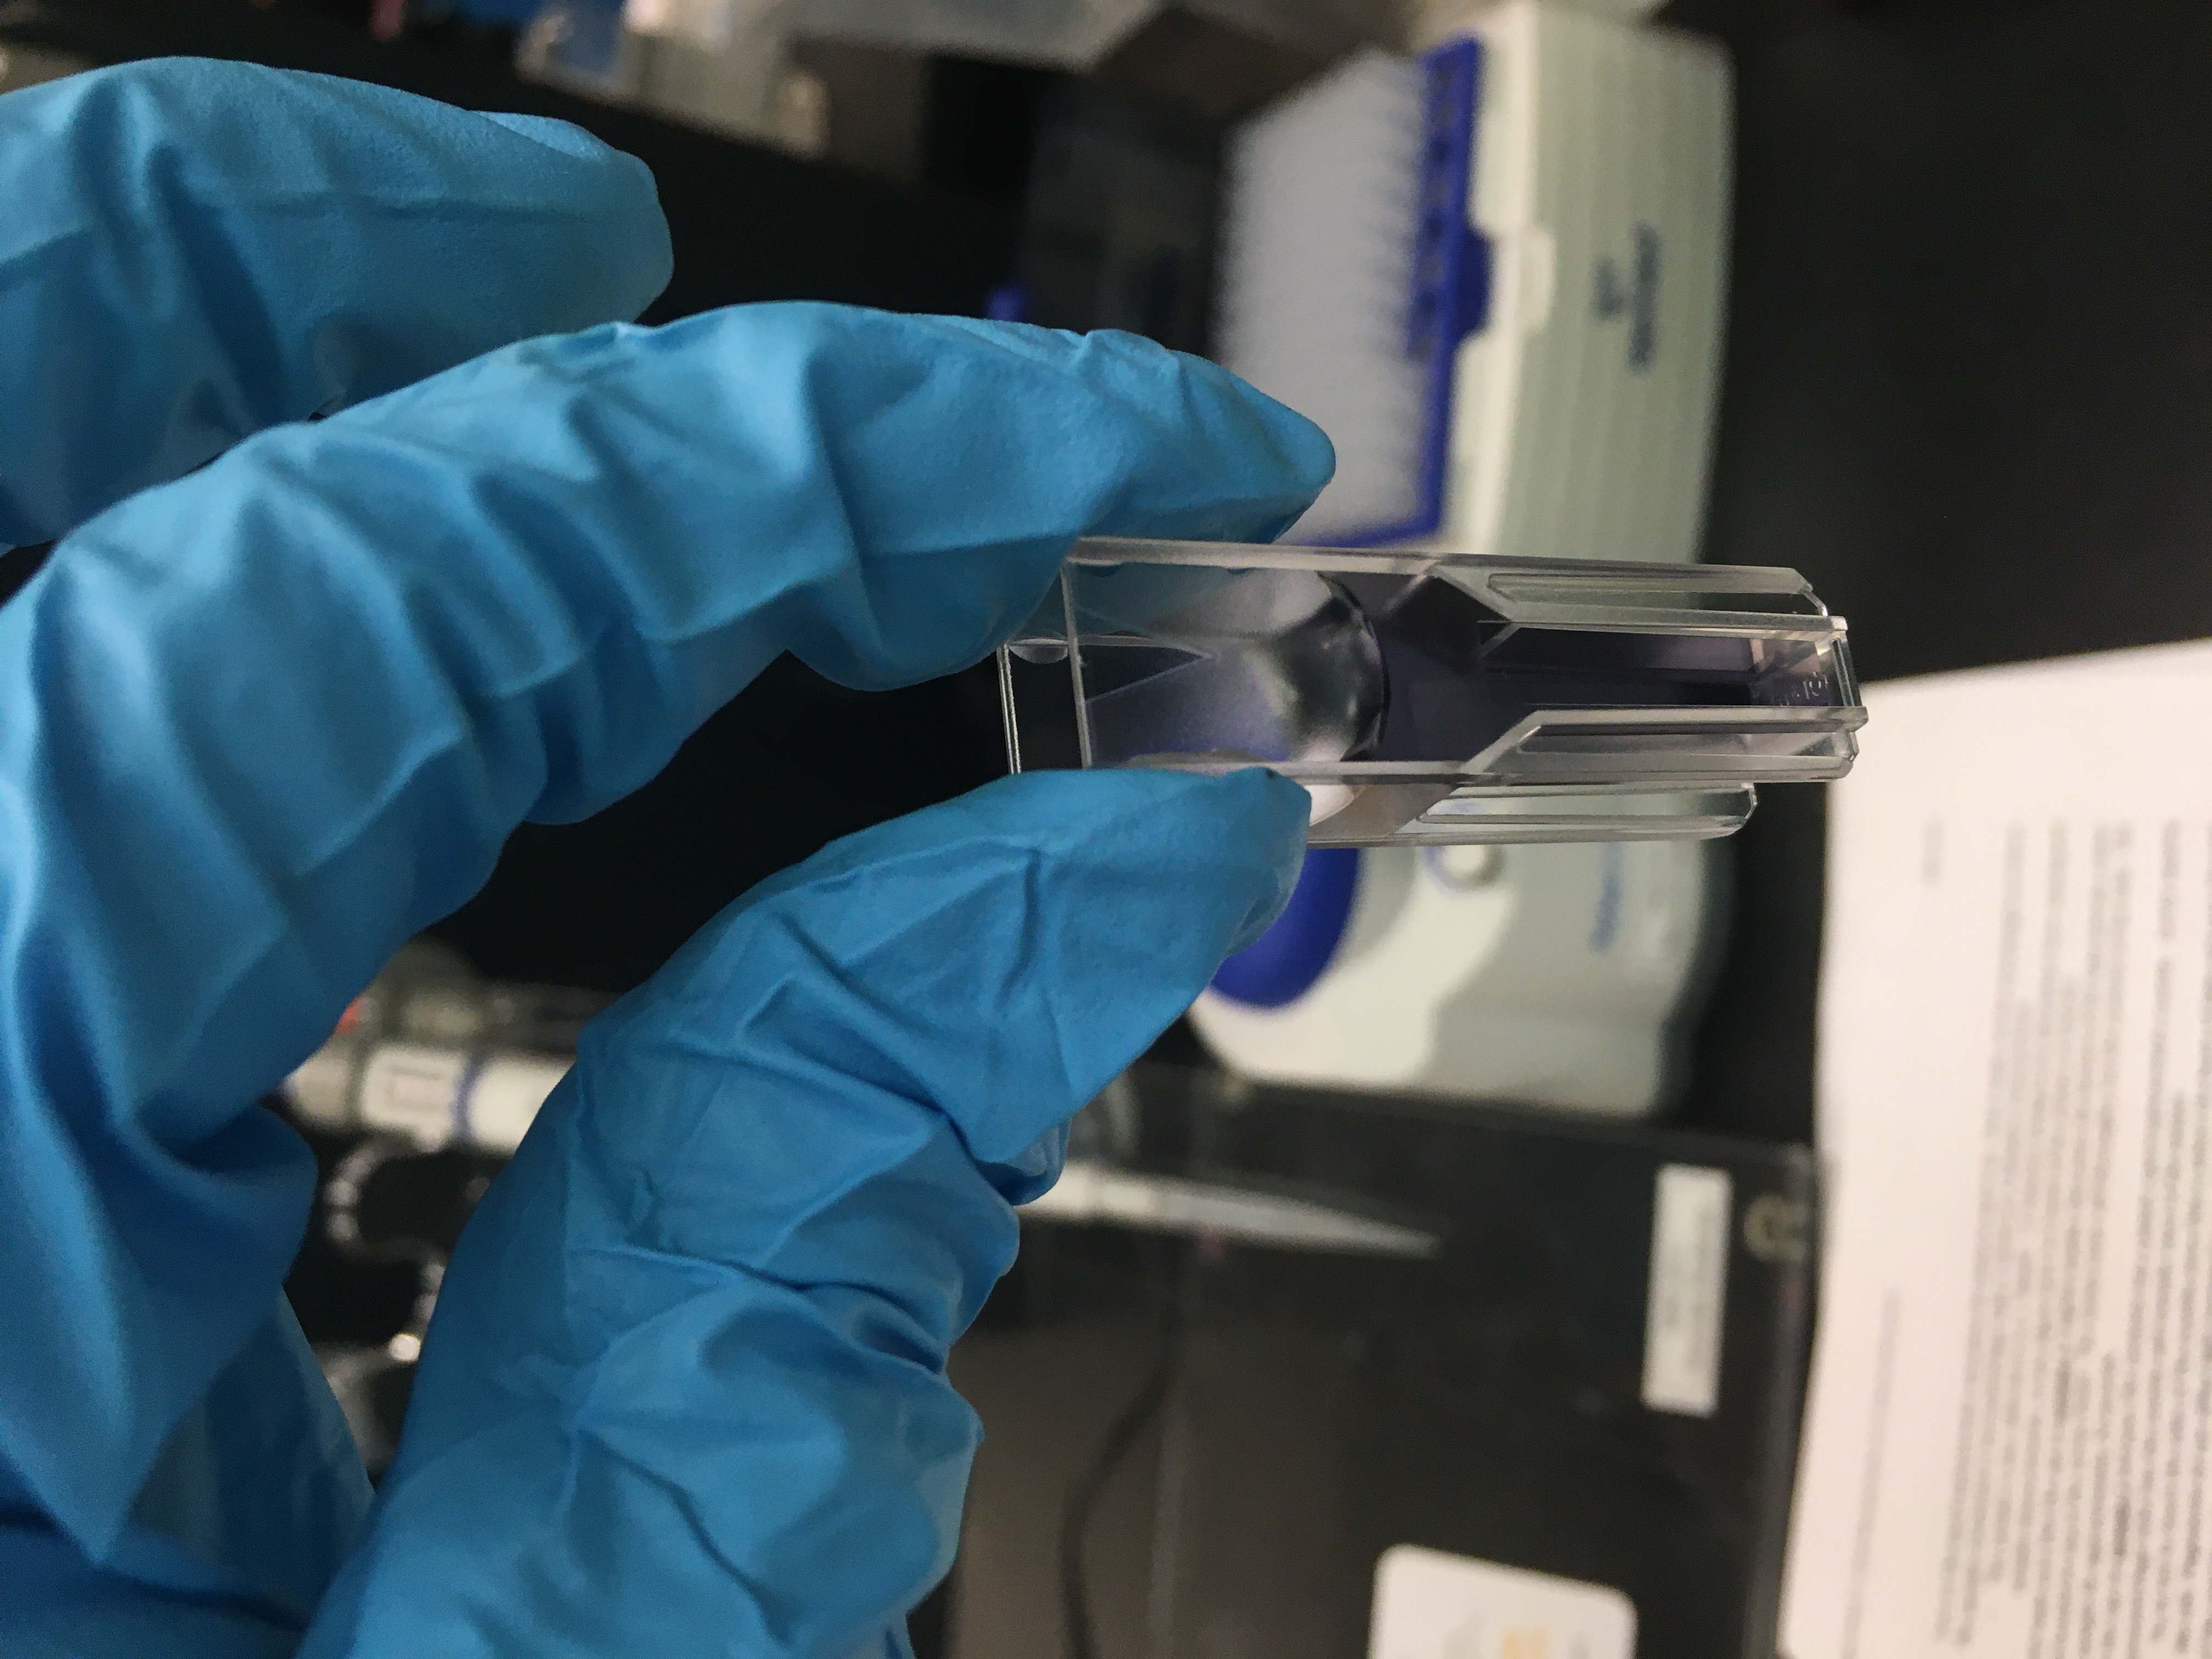
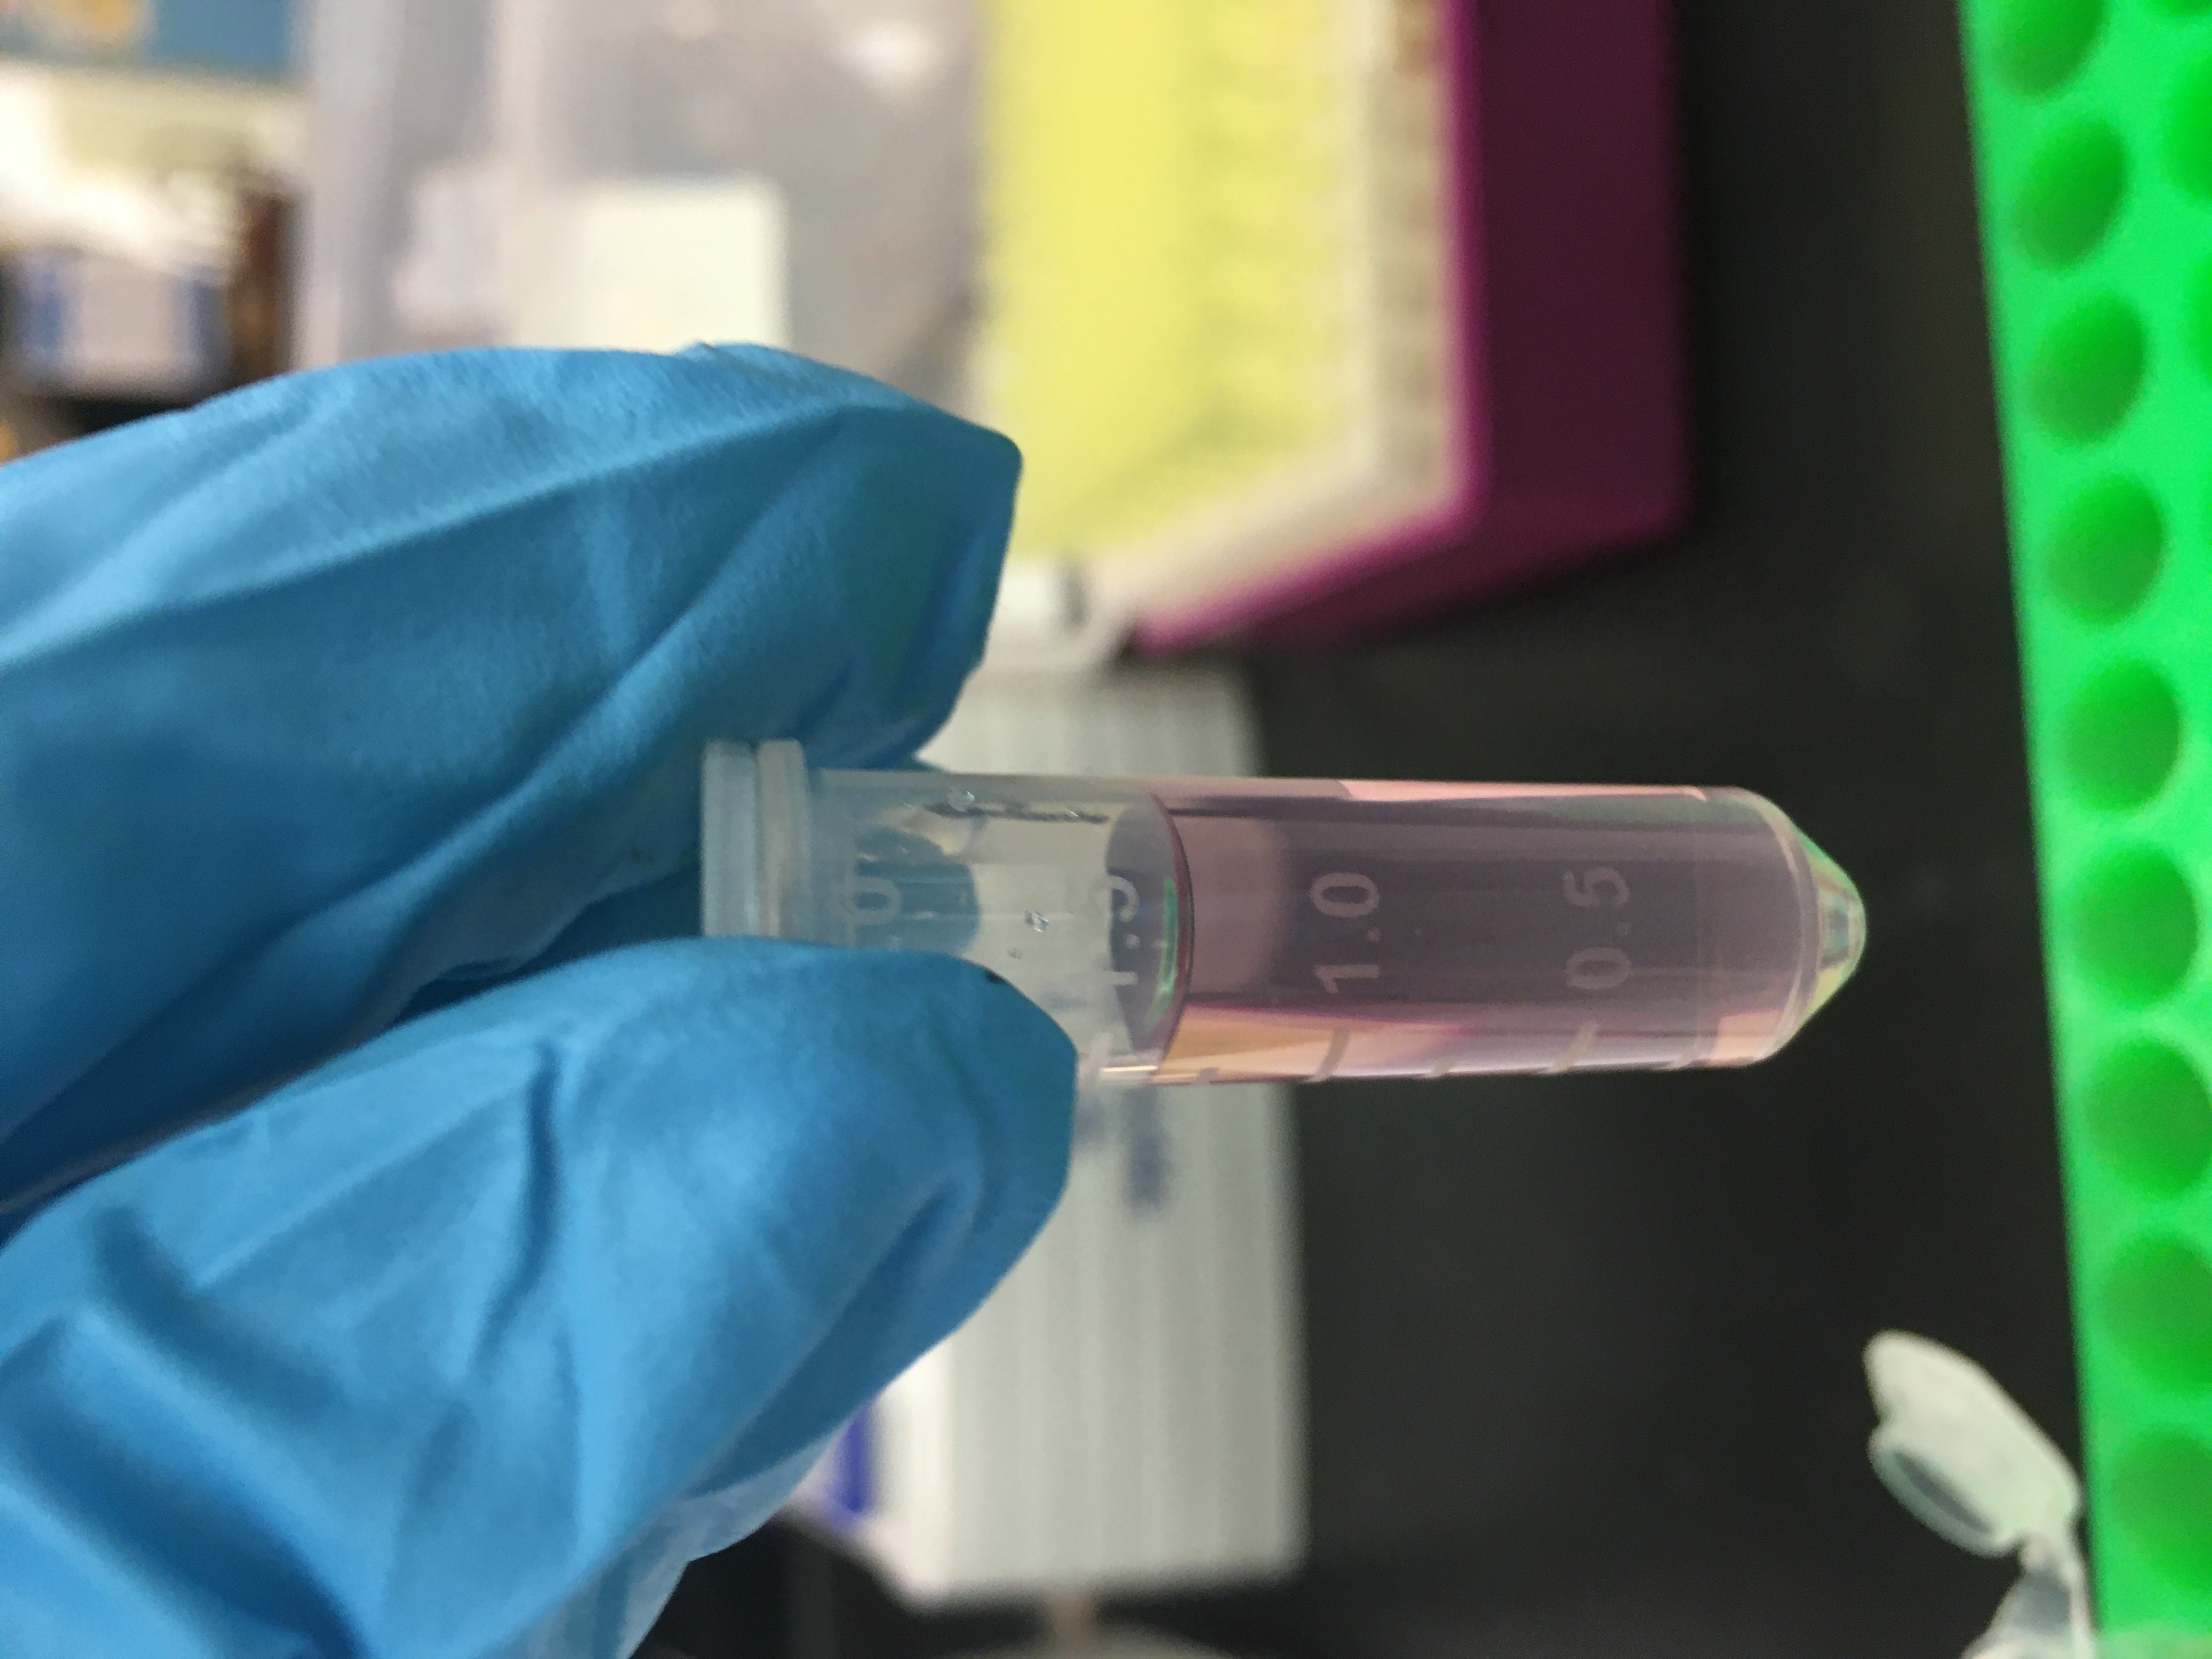
The same sample, with glucose added, after 10 minutes of waiting.
As the pictures show above, with glucose added to our biosensor, an observable change in colour occurs. This change can be measured using a spectrophotometer. The change in colour corresponding to different amounts of glucose is recorded, and this can be used to develop a relationship. Once the relationship between colour and glucose concentration is determined, we can detemine the amount of glucose in a sample by examining the colour.
Creating a Fabry-Perot Filter
Theory
Fabry-Perot filters filter out different wavelengths of light. They are comprised of 3 layers: two thin layers of semi-reflective material, placed on either side of a layer of transparent dielectric material. Due to the partial reflectivity of the outer layers, some light can enter the filter, and a portion of that light will bounce back and forth inside. As the light undergoes multiple reflections, constructive or destructive interference occurs for different wavelengths. This interference phenomenon allows only certain wavelengths to pass through the filter, resulting in wavelength selectivity. The specific wavelength that gets transmitted through the filter is determined by the thickness of the dielectric layer.
In order for a Fabry-Perot filter to work, all of the layers need to be incredibly small. In order for the aluminum layers to be semi-reflective, they need to be incredibly thin. This allows for some light to pass through. The alumium layers need to be about 300 angstroms, or about 100 atoms thick! In order for the dielectric layer to interact with light, it needs to have a thickness which is on the same order of magnitude as visible light wavelengths. The dielectric layer then was around 3000 angstroms, or 300 nm.
These thicknesses are achieved via a process called evaporation deposition. In this process, a certain material is evaporated into a gas, and is then deposited on a substrate (which in this case is glass). Aluminum, being a metal, has an incredibly high evaporation point (of over 1000 degrees Celsius). However, while heat can be used to melt and evaporate material, so can pressure. By decreasing the atmospheric pressure on a substance, we can evaporate it at room temperature. Therefore, we can put our material in a vacuum chamber, evaporate it, and deposit it in layers on our glass. The thickness of each layer is controlled via a lever, which blocks and unblocks the substrate from being in contact with the gaseous material.
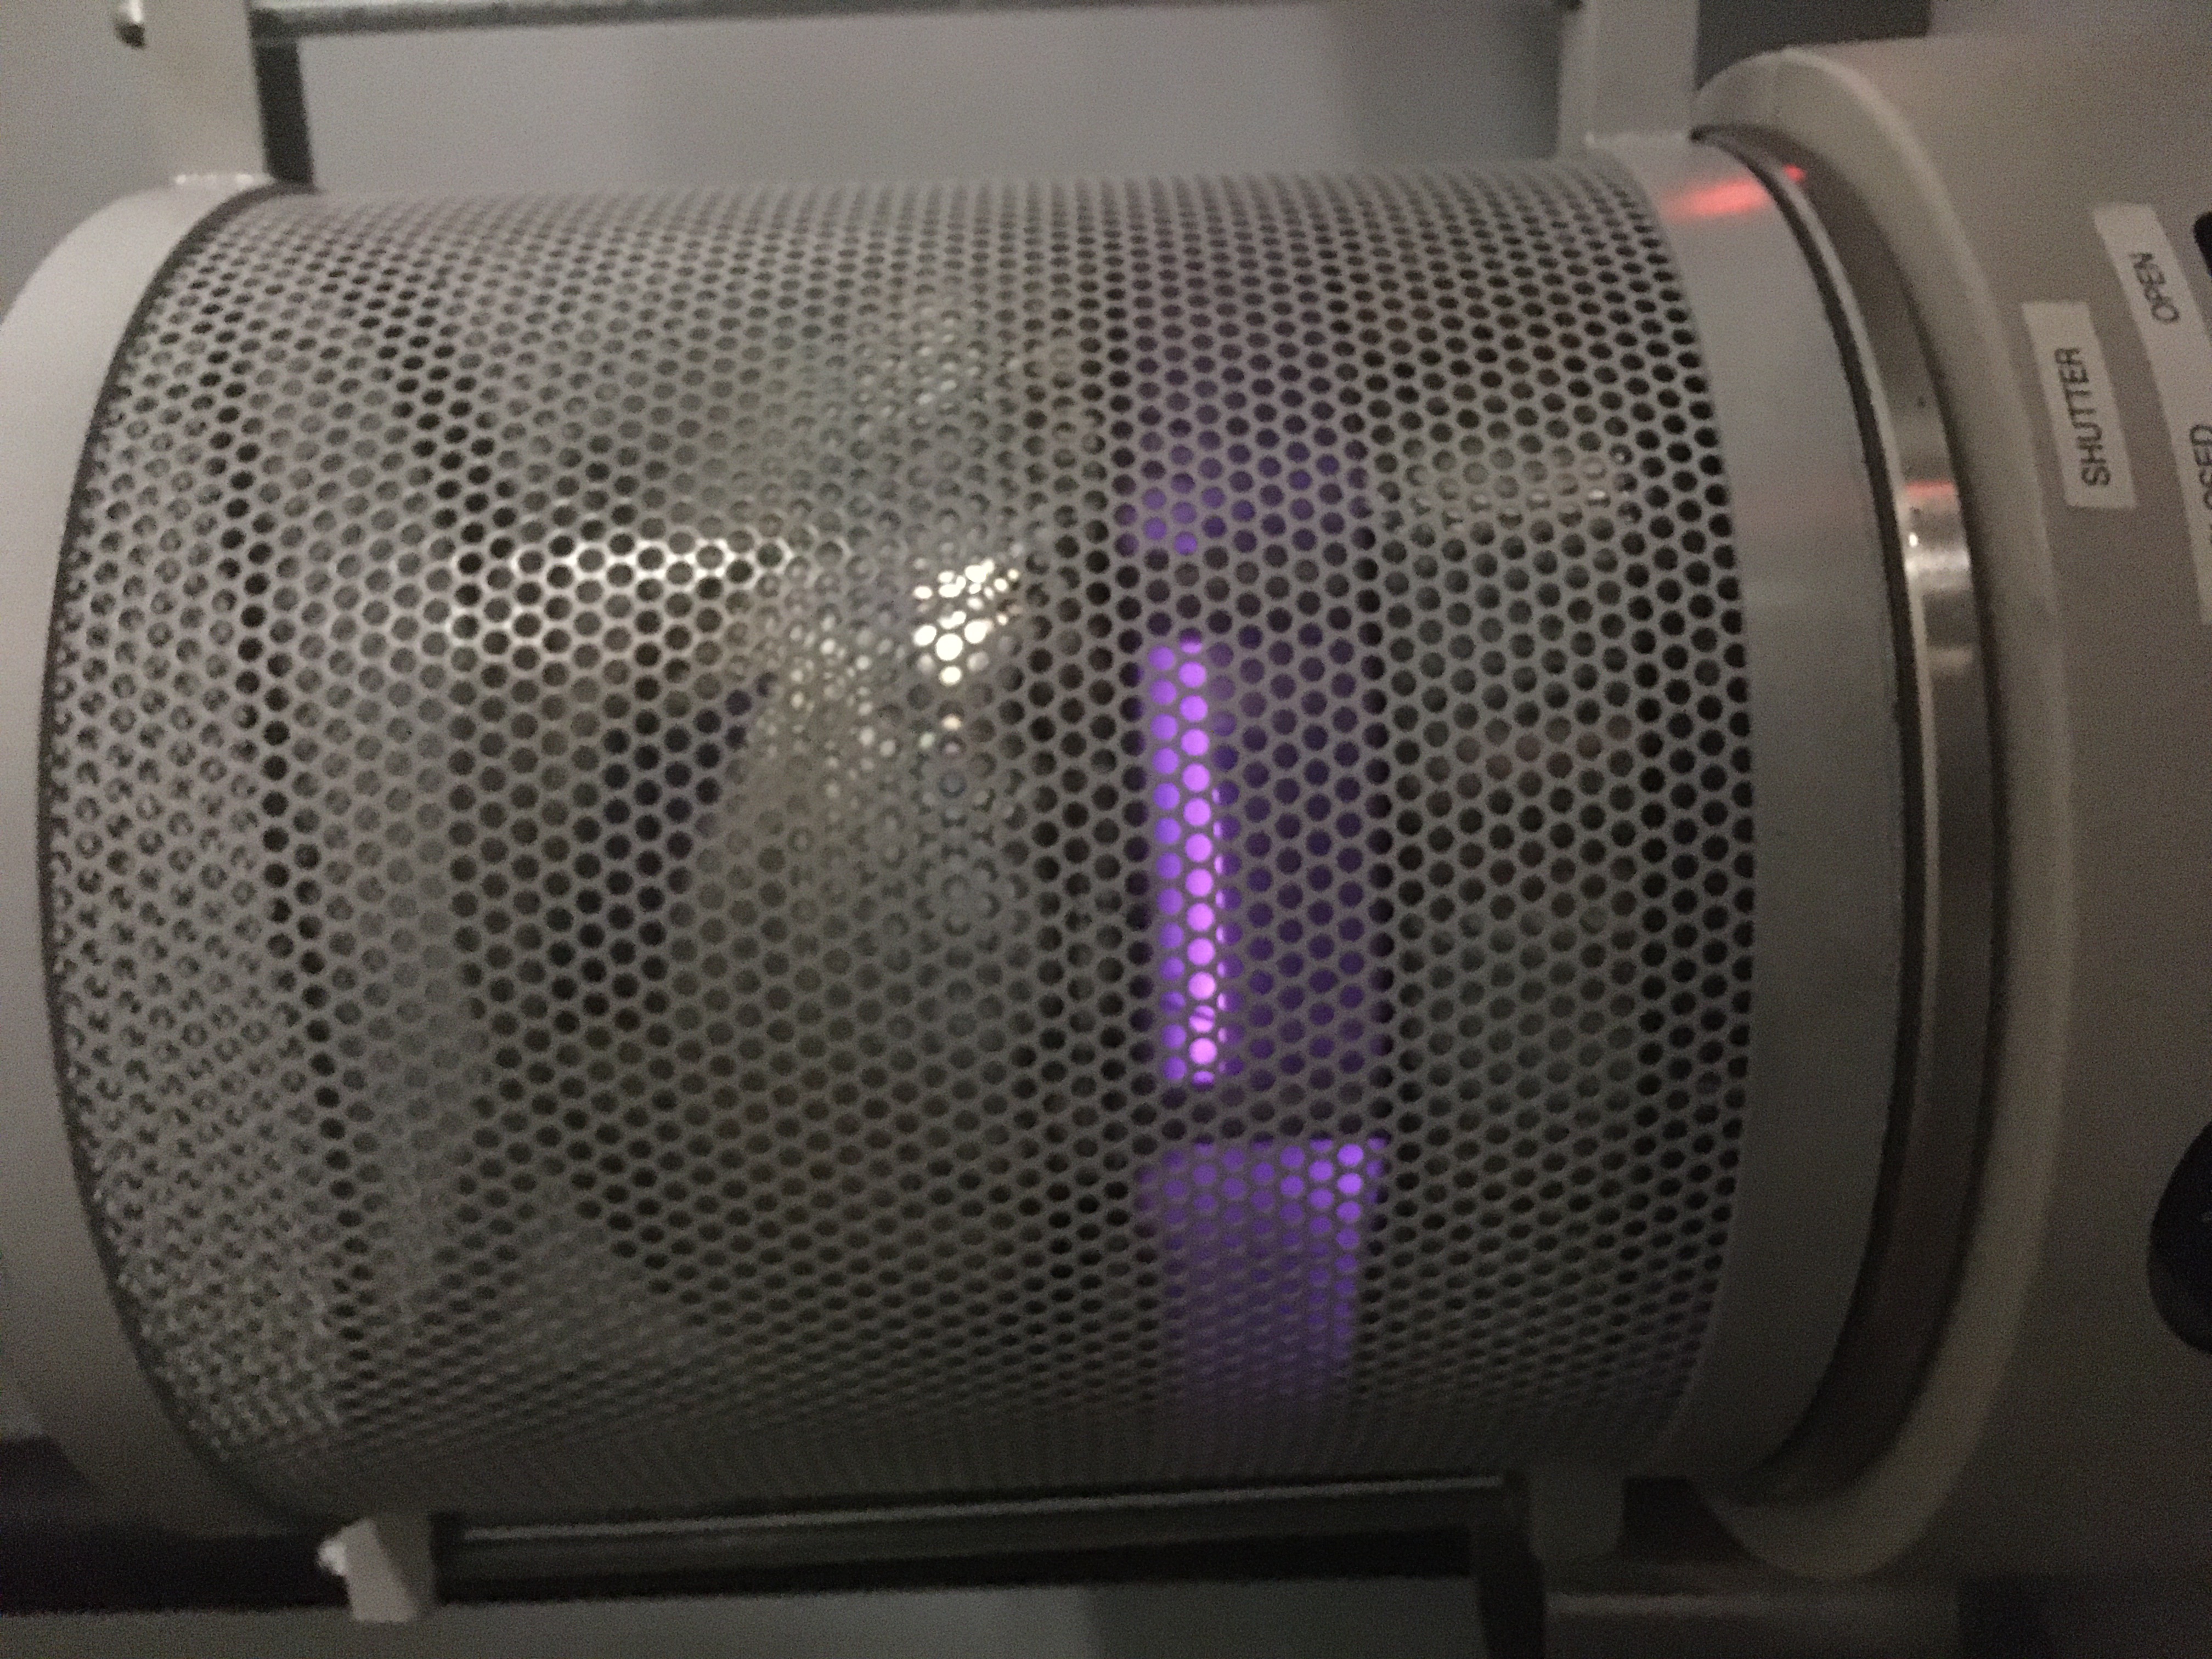
The vacuum chamber. The faint glow of plasma can be seen,
aiding in the creation of the vacuum.
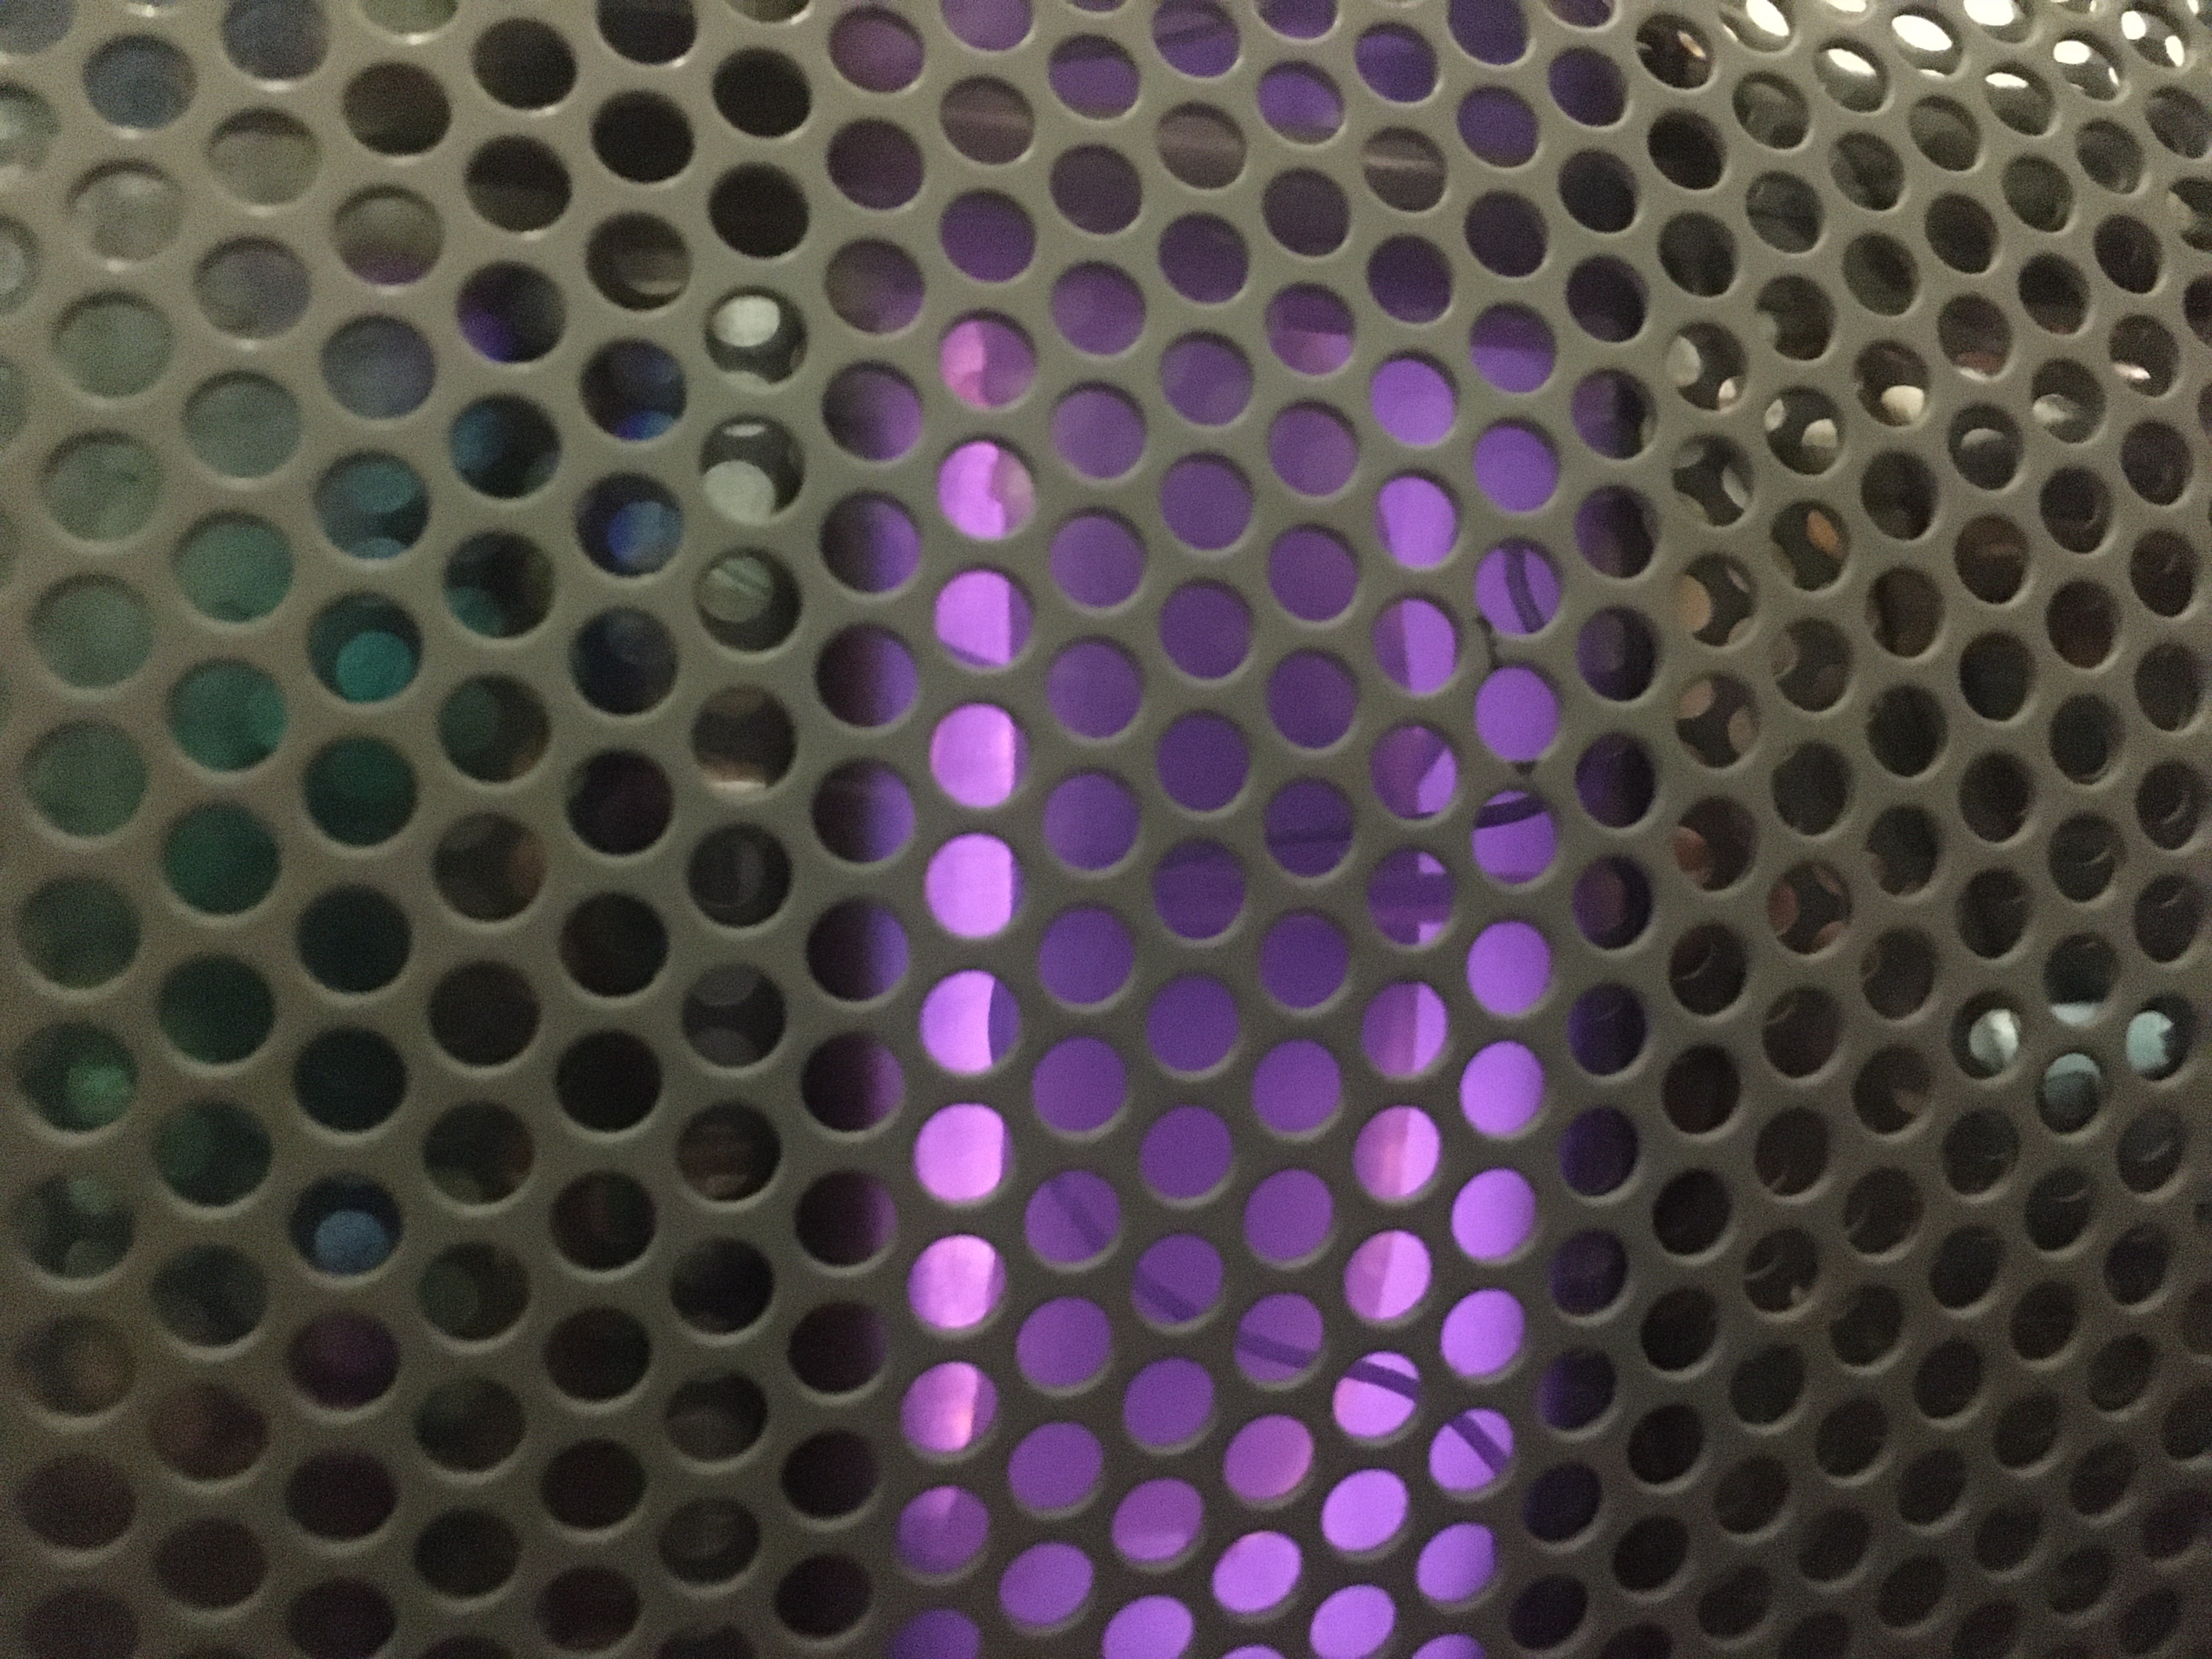
A closer view of the glow-ring producing ionized gas.
Results
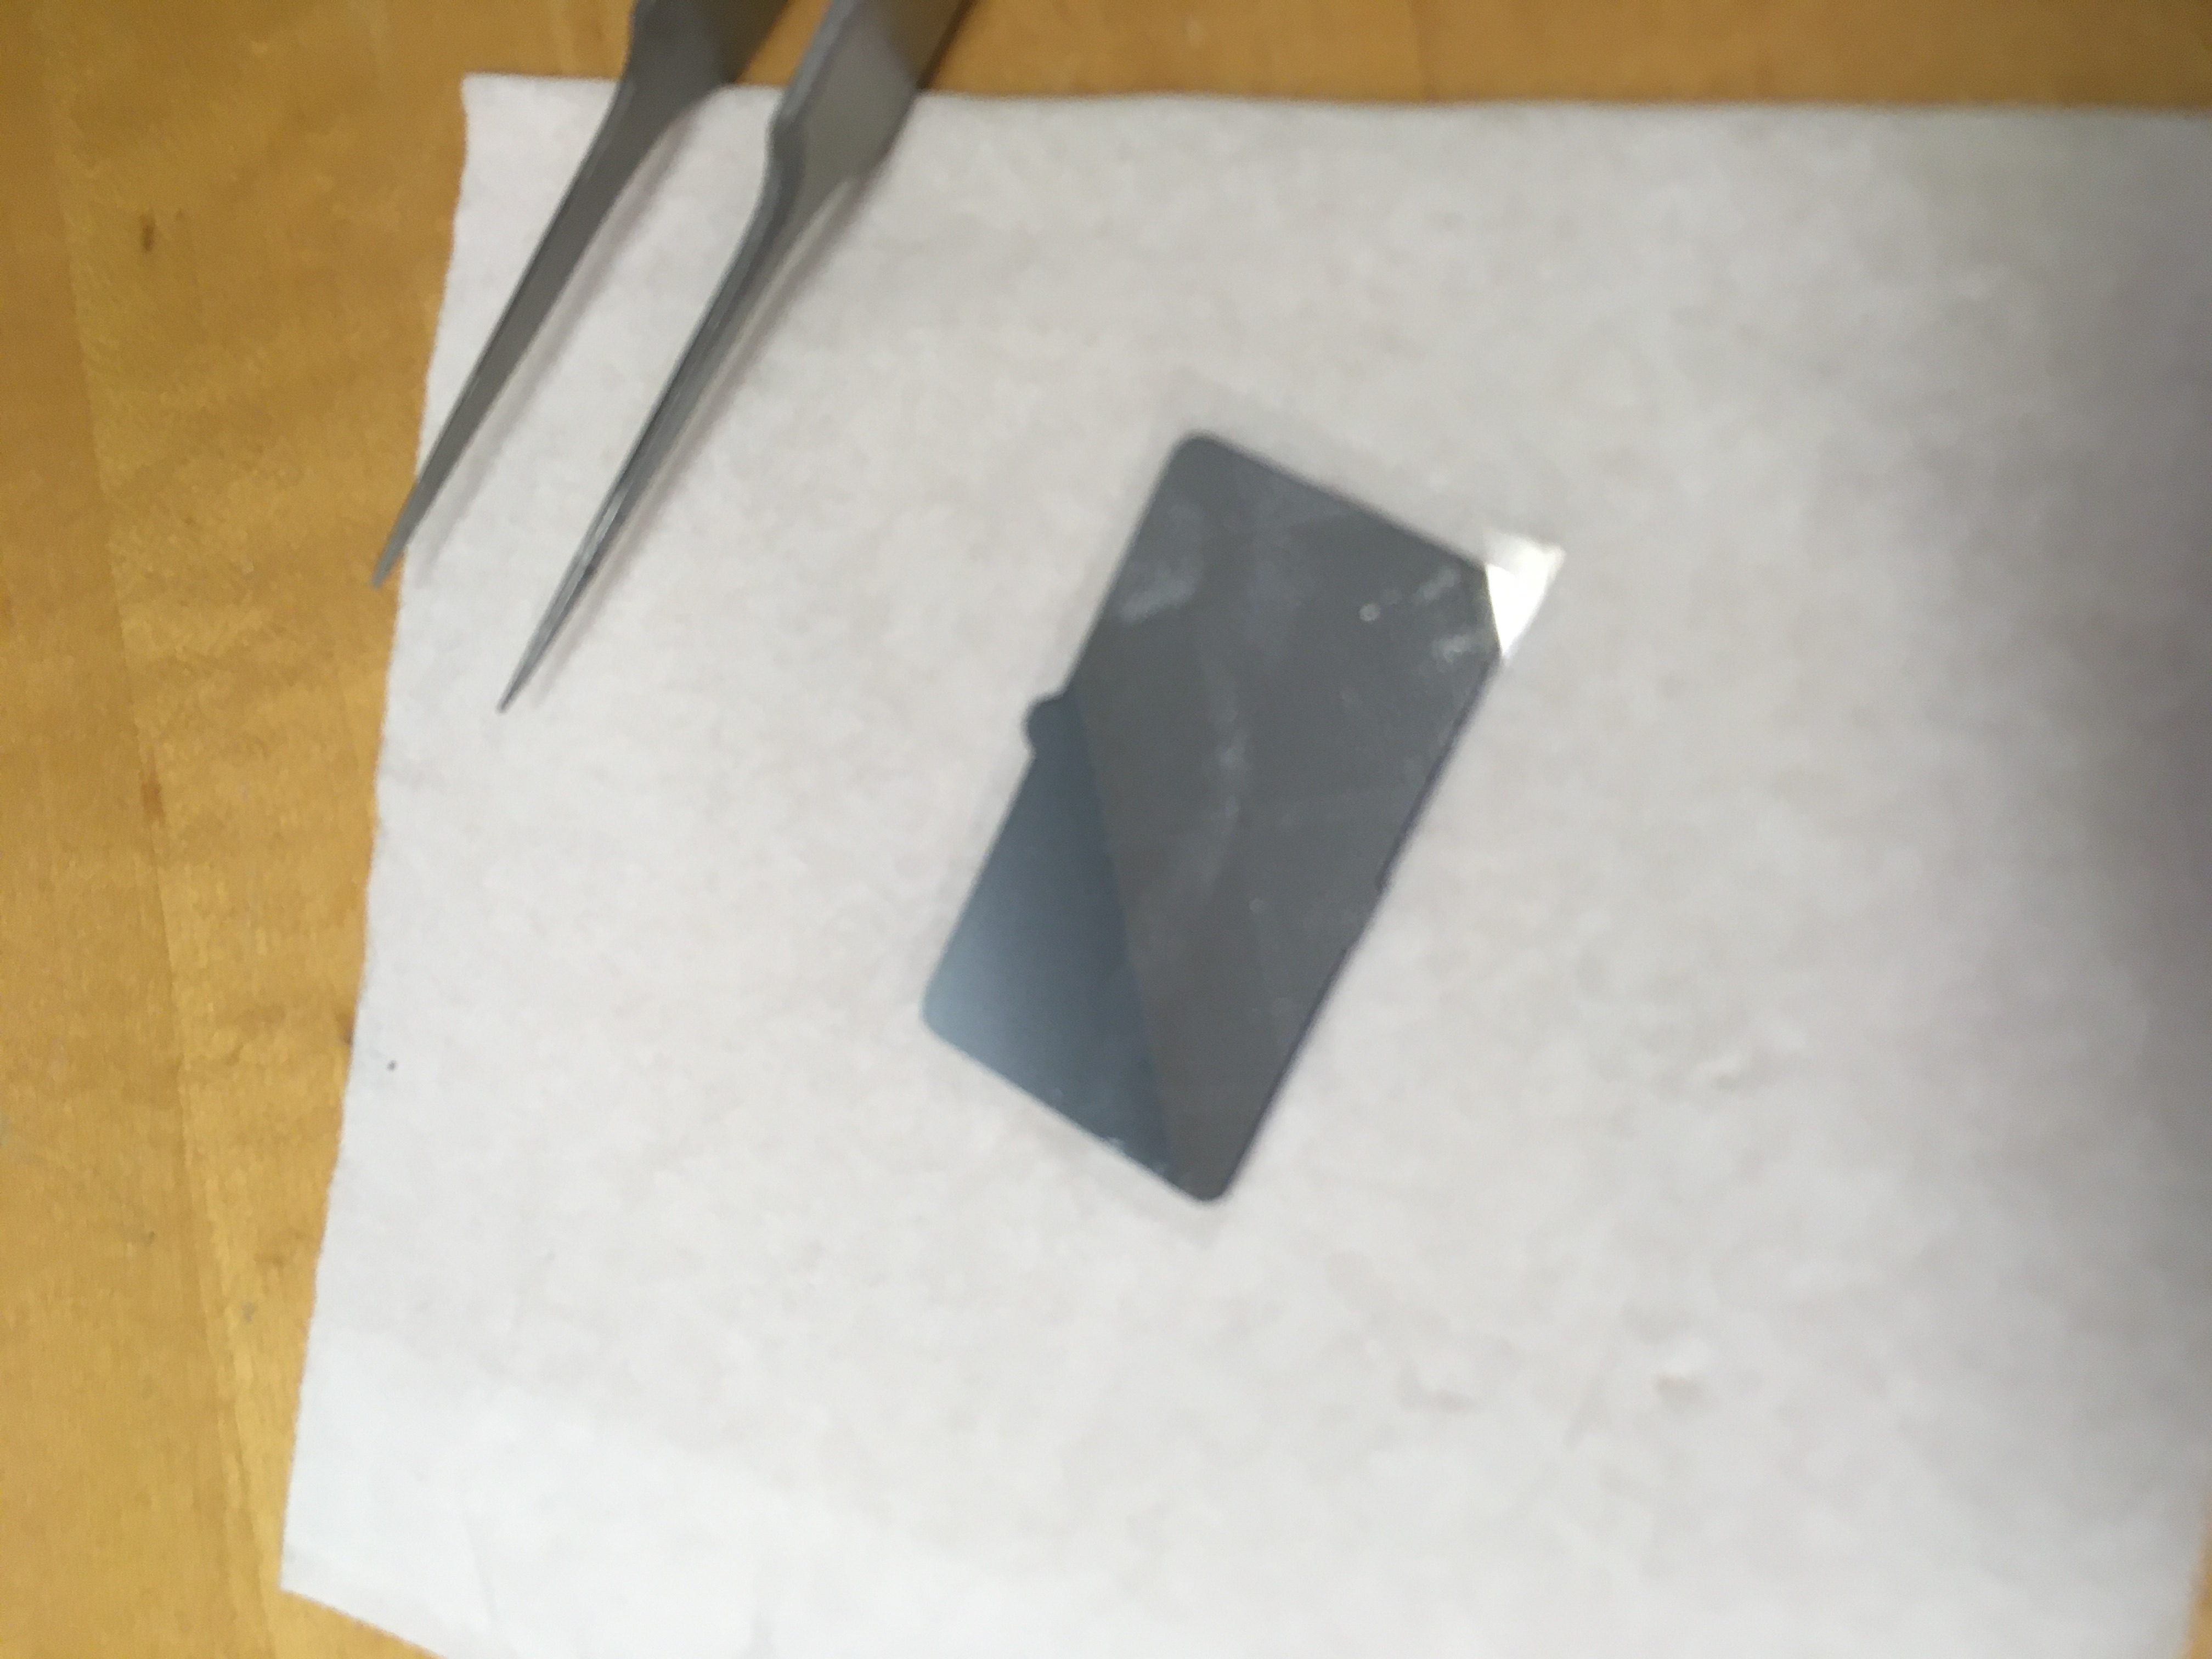
The finished product. All three layers are so thin
that they appear flush with the glass substrate.
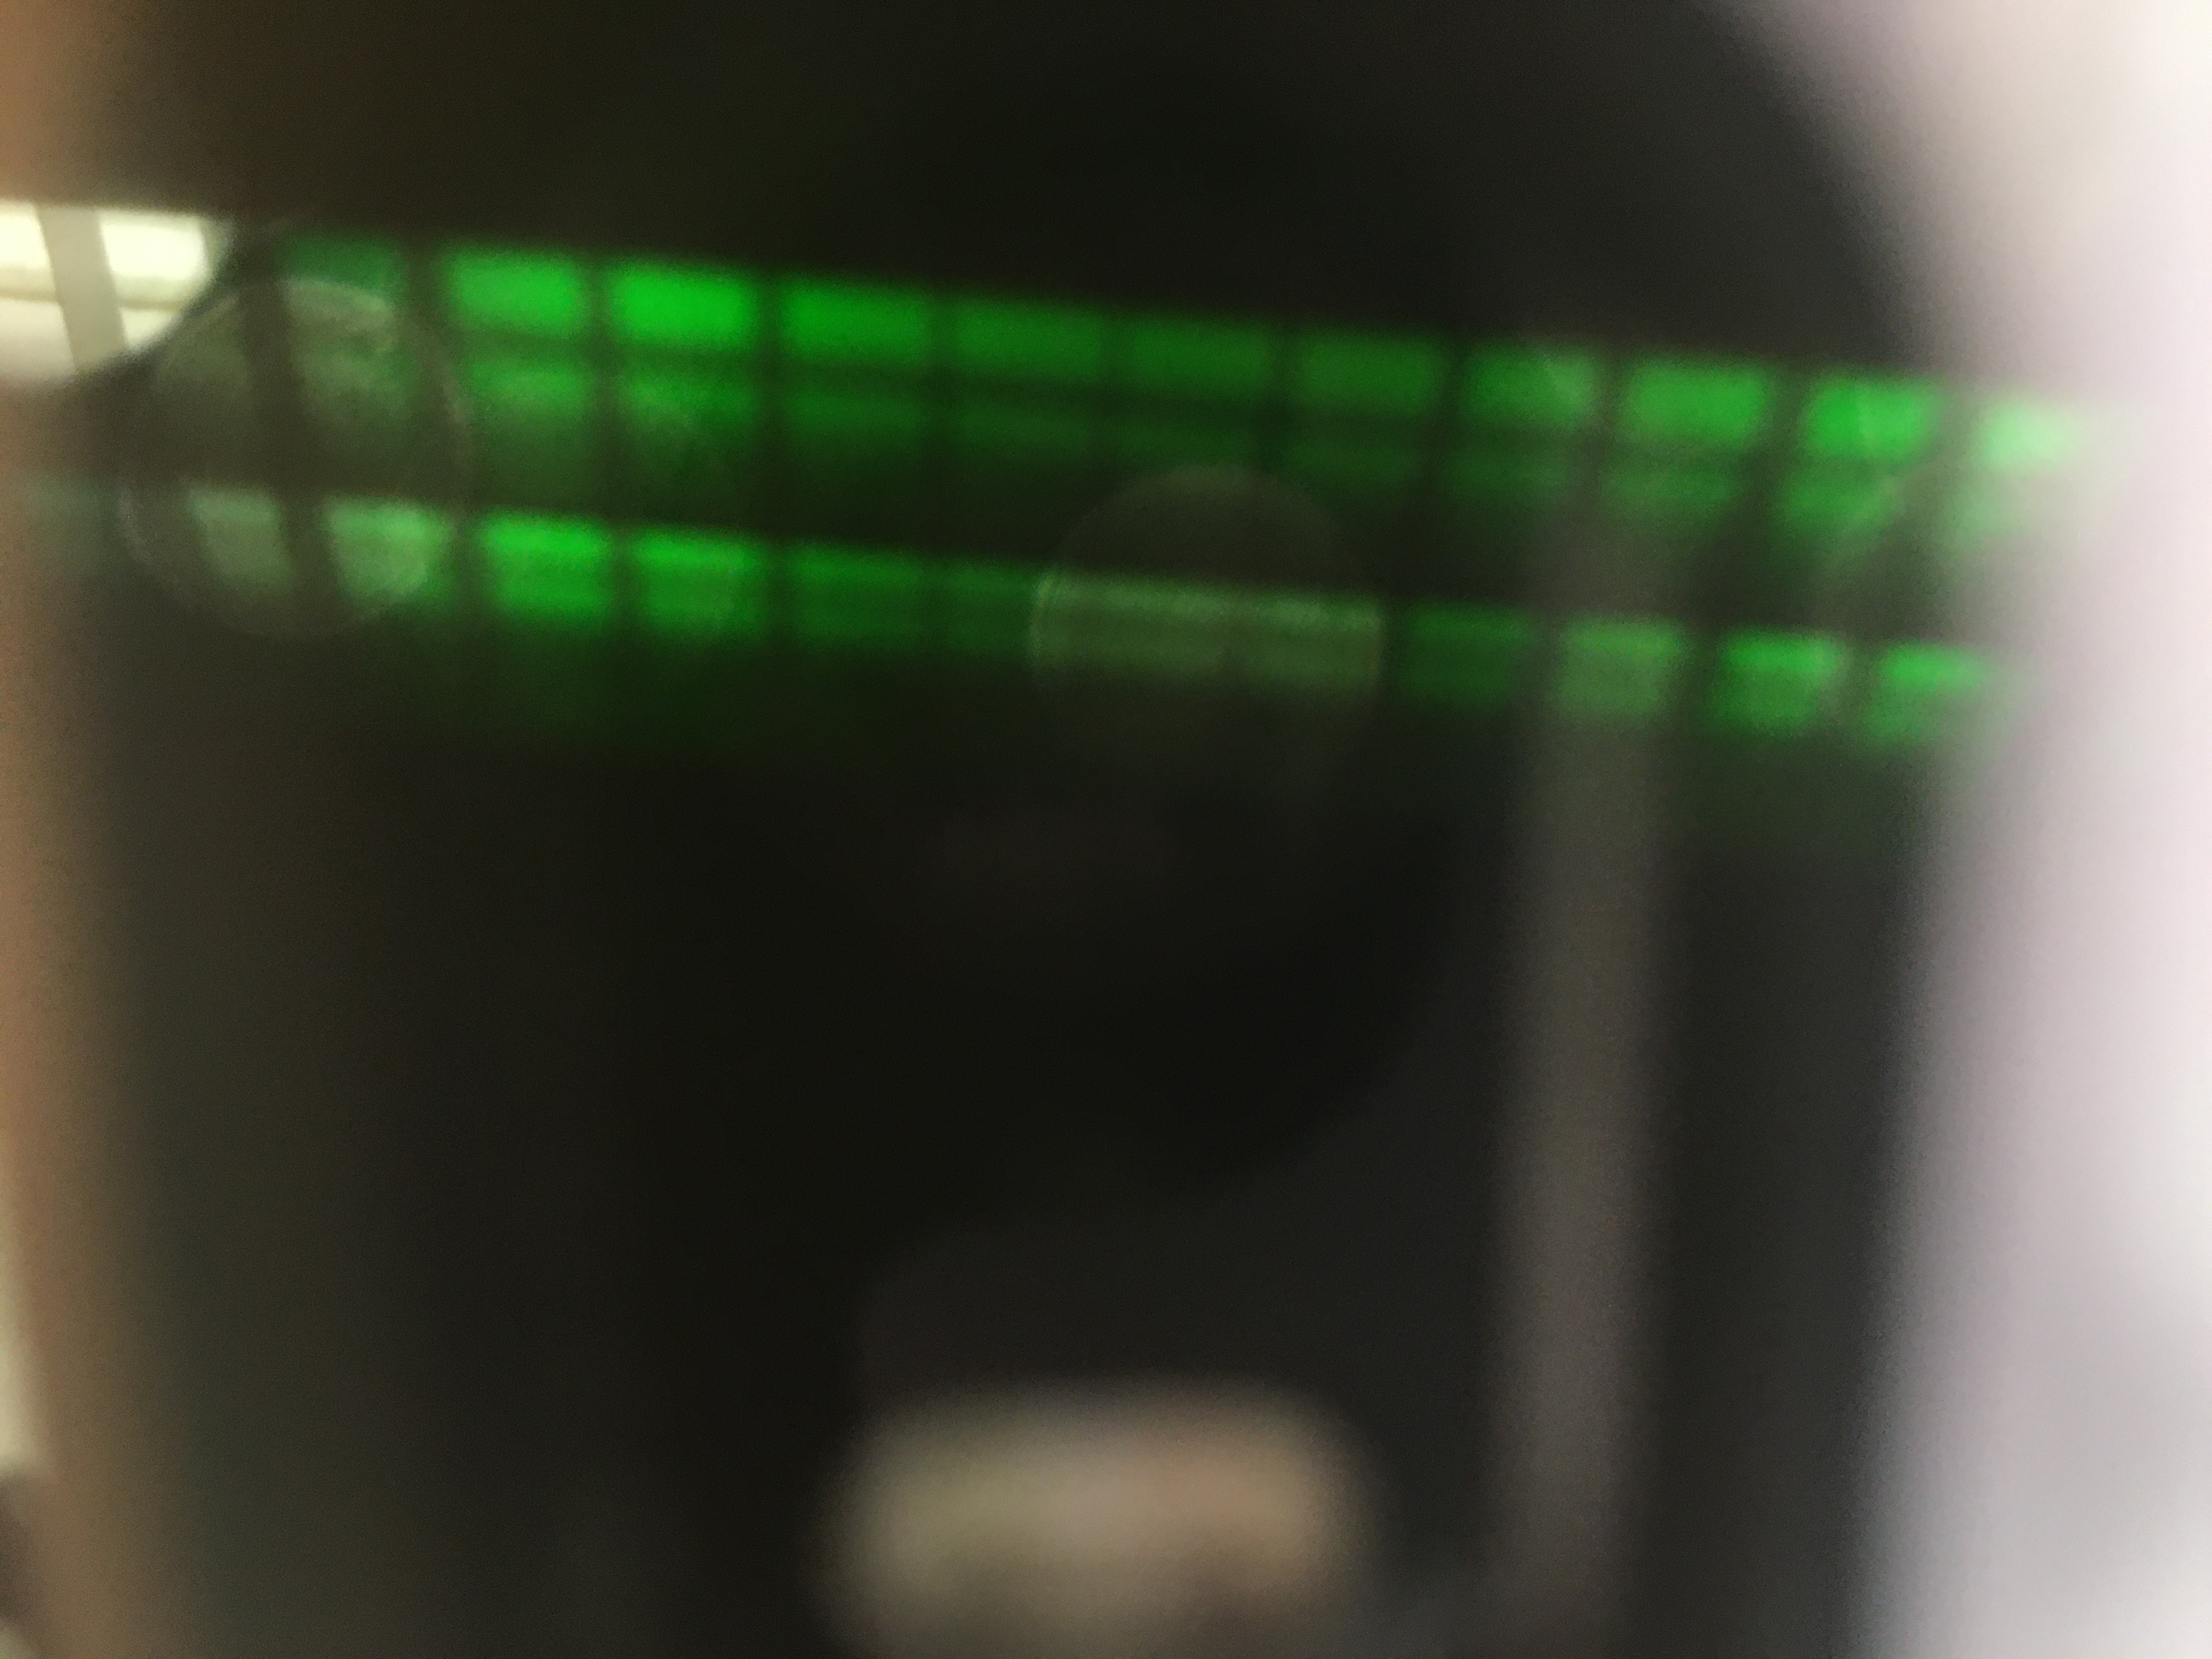
A picture of a ceiling light, taken through the filter.
As is evident, the Fabry-Perot filter filters out everything except for green light. Notice that from far away, and in a light environment, the filter appears to be completely reflective, making it excellent one-way glass. Fabry-Perot filters can be used in a wide variety of optical equipment in fields ranging from photography to scientific research.
X-Ray Crystallography via the Laue Method
Theory
By shooting a beam of high frequency x-rays into a material, we can learn more about the crystal structure within the material. It's important to remember that many solid materials have a crystal structure, even if they don't look like crystals. For example in this experiment, we first used table salt (NaCl) samples, then copper samples. Table salt and copper actually have the same type of crystal structure, although with different dimensions.
Results
-cropped-labelled.png)
The Laue Back-Reflection Pattern of NaCl.
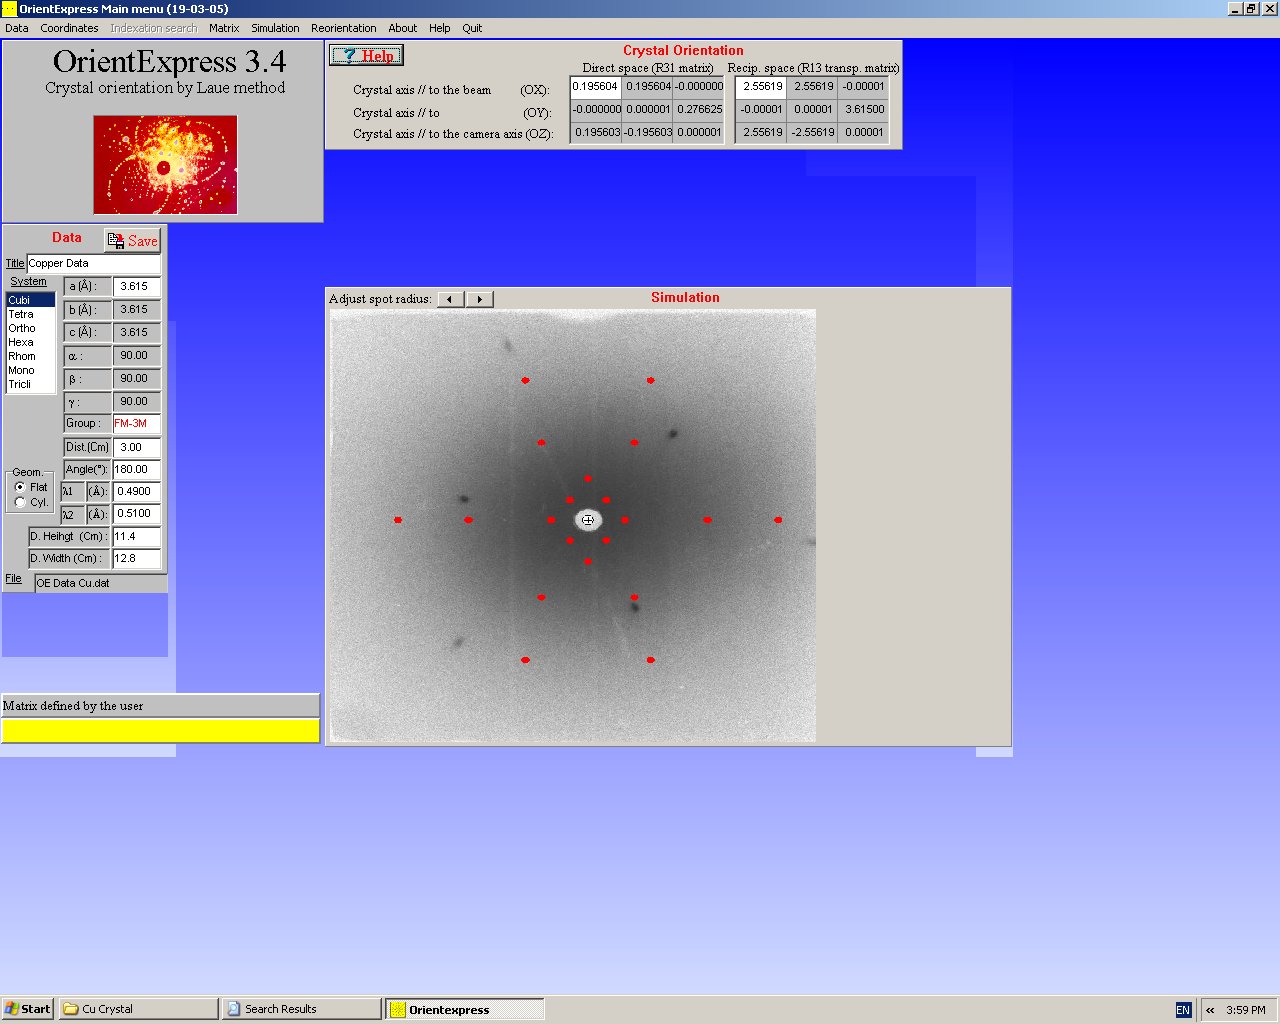
The Laue Back-Reflection Pattern of Cu.
An x-ray was shot at a single-crystal sample of NaCl and Cu. This beam of x-ray hits different layers in the crystal lattice of the materials, and is scattered. Parallel beams of light will either cancel out, and dim, or combine/amplify, and brighten. For a specific material, reflected beams will only amplify if the original beam hits the crystal lattice at a certain angle. The images are inverted, so the black spots represent reflected x-rays that were amplified. Based off of this idea, we can determine the crystal structure by looking at the black spots on our scan.